Labeling Workflow for Storage: Step-by-Step Guide
Over 60 percent of American households report losing track of stored items each year, leading to wasted time and frustration. Whether you are packing up seasonal decorations, organizing craft supplies, or tidying your workspace, clutter can quickly get out of hand. Learning a simple system for sorting, labeling, and digitizing your stored items will help you keep everything accessible and organized for the long term.
Table of Contents
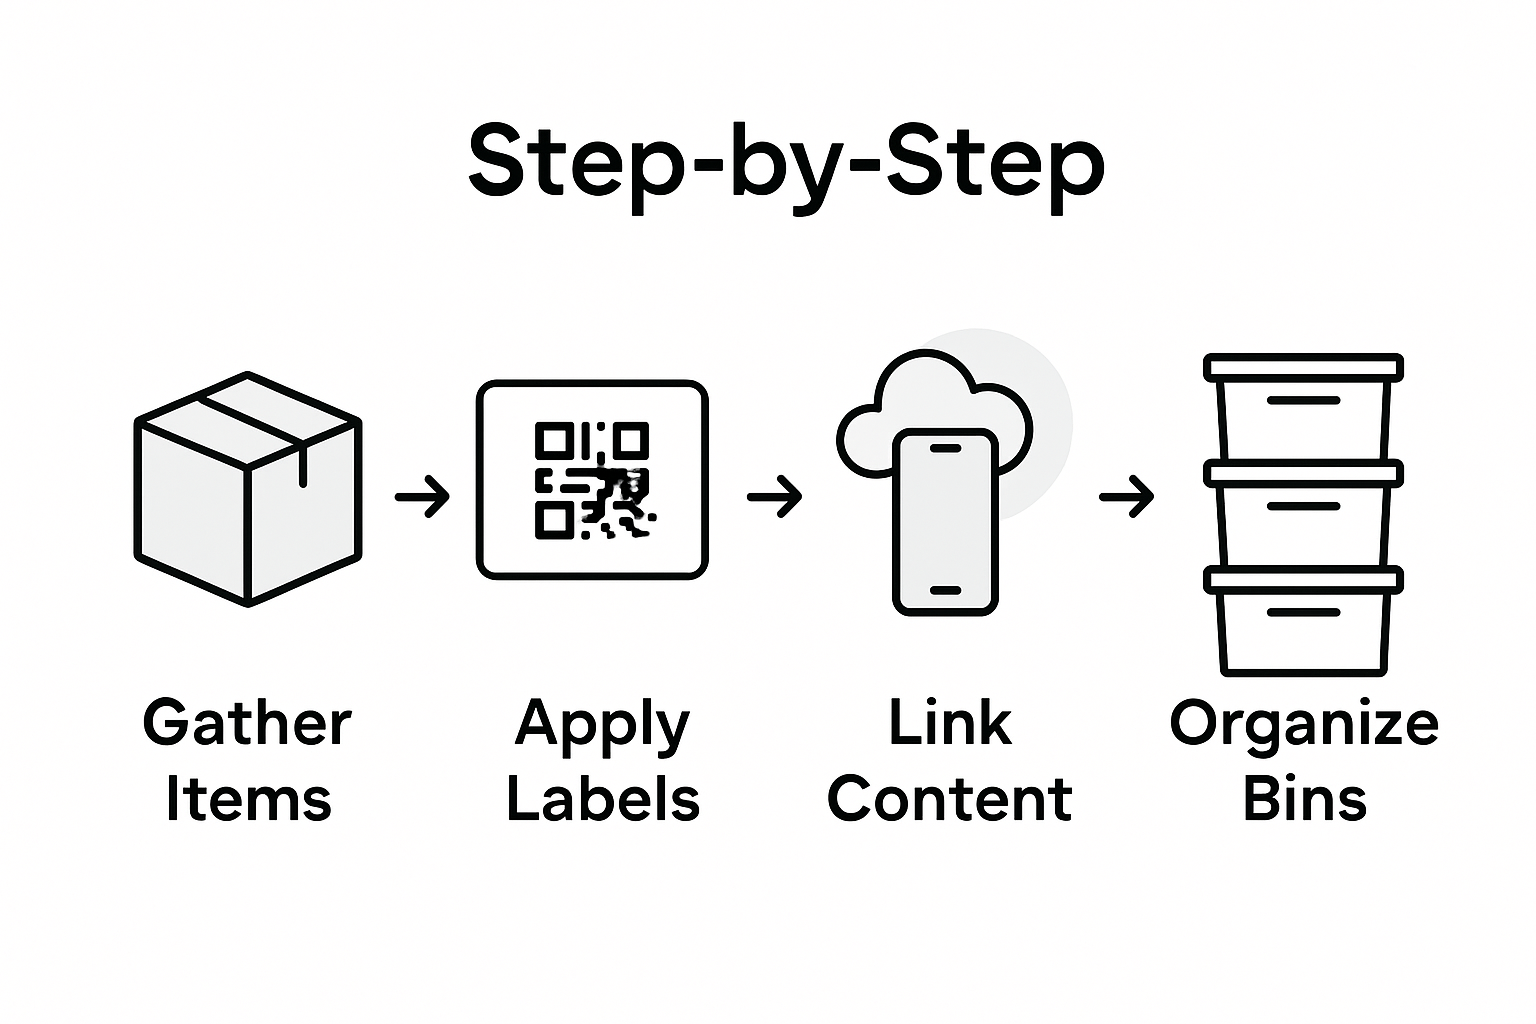
- Step 1: Gather and Prepare Your Storage Items
- Step 2: Select and Apply QR Code Labels
- Step 3: Link Digital Content to Each Label
- Step 4: Organize Labeled Items in Your Space
- Step 5: Verify Labels for Accessibility and Accuracy
Quick Summary
| Key Point | Explanation |
|---|---|
| 1. Gather and Sort Storage Items | Collect all intended storage items in one location and categorize them to streamline organization and labeling. |
| 2. Utilize QR Code Labels | Implement QR code labels for easy access to detailed information about stored items, improving efficiency. |
| 3. Link Digital Content | Associate meaningful digital content with each QR code for enhanced tracking and valuable contextual information. |
| 4. Arrange Items for Accessibility | Strategically position labeled items based on frequency of use to optimize retrieval and maintain organization. |
| 5. Regularly Verify QR Codes | Periodically test QR code functionality to ensure they provide correct information and maintain system reliability. |
Step 1: Gather and Prepare Your Storage Items
Organizing your storage begins with strategic preparation of your items. This initial step involves thoughtfully collecting and sorting the objects you plan to store, setting the foundation for an efficient labeling workflow.
Start by gathering all items intended for storage in one central location. Investing in transparent storage containers can significantly enhance the organization and accessibility of your items. Choose clear plastic bins that allow you to quickly identify contents without opening each box. Group similar items together sorting by category like craft supplies, seasonal decorations, or office materials. Measure your storage items to determine appropriate container sizes and ensure everything fits neatly.
As you collect your items, create designated zones for different categories. Consider using adjustable shelving that can accommodate various equipment sizes. Establish a daily and weekly clean-up schedule to maintain your organized storage space. Daily tidying involves returning items to their specific locations, while weekly sessions help you declutter and confirm you are keeping only necessary items.
Pro tip: Before storing any item, wipe down containers and objects to remove dust and ensure clean storage conditions. This extra step prevents dirt transfer and helps maintain the quality of your stored belongings.
Step 2: Select and Apply QR Code Labels
With your storage items gathered and organized, you are now ready to implement a smart labeling system using QR code tags. This step will transform how you track and manage your stored belongings by adding digital information to physical items.
To create effective QR code labels, start by using weatherproof labels suitable for your specific printer. When generating your QR codes, ensure you maintain the original dimensions to preserve scanning integrity. Choose labels that are durable and can withstand potential environmental conditions in your storage area. Carefully insert your generated QR code into the label template without stretching or distorting the image.
Position your QR code labels strategically on your storage containers or items where they are easily visible and accessible. Consider placing them on the front or top of containers for quick scanning. Link each QR code to specific information about the contents such as inventory lists, storage dates, or additional details that will help you track and manage your items efficiently. Use the QR code labels tutorial to create smart tags that streamline your organization process.

Pro tip: Before finalizing your labels, always perform a test scan with your smartphone to verify the QR code works correctly and links to the intended information.
Here’s a quick reference comparing traditional labeling to QR code-based labeling for storage:
| Aspect | Traditional Labels | QR Code Labels |
|---|---|---|
| Information Capacity | Limited to short text | Holds detailed digital data |
| Updating Content | Requires relabeling | Edit linked files anytime |
| Accessibility | Visual only | Instant smartphone access |
| Organization Level | Basic categorization | Advanced inventory tracking |
| Scalability | Time-consuming changes | Easily scalable system |
Step 3: Link Digital Content to Each Label
Now that you have created QR code labels for your storage items, its time to transform these tags into powerful information hubs by linking meaningful digital content. This step will elevate your storage organization from simple tracking to an interactive experience.
QR codes can enable online collaborative document sharing, allowing you to access and edit shared files directly connected to your physical storage items. Begin by determining the type of digital content you want to associate with each label. This could include detailed inventory spreadsheets, video descriptions of item contents, maintenance instructions, or personal narratives about sentimental objects. For artwork or craft supplies, consider linking to digital portfolios or project tutorials. Use the QR code tracking guide to streamline your digital content management process.
Each QR code can serve as a gateway to rich multimedia experiences. Link photographs of packed items, create digital journals describing an object’s history, or connect to cloud storage folders with additional documentation. The key is to make your digital content informative, easily accessible, and relevant to the specific item or storage container.
Pro tip: Create a backup of all digital content you link to your QR codes to ensure you can always retrieve important information even if the original link becomes unavailable.
Below is a summary of common types of digital content to link to your storage QR codes and their benefits:
| Type of Digital Content | Description | Key Benefit |
|---|---|---|
| Inventory Spreadsheet | List of items and details | Enables precise inventory control |
| Maintenance Instructions | Care and usage guides | Ensures proper item upkeep |
| Photos or Videos | Visual records of contents | Provides easy item identification |
| Digital Portfolio/Journal | Project files and documented history | Adds context and increases value |
| Cloud Storage Folder | Secure online documentation storage | Easy access across all devices |
Step 4: Organize Labeled Items in Your Space
With your QR code labels created and digital content linked, its time to strategically arrange your storage items for maximum efficiency and accessibility. This final step transforms your labeled collection into a well-organized system that saves time and reduces frustration.
Organizing storage items involves carefully grouping similar items together and labeling them clearly. Use drawer dividers or small containers to separate items by type like art supplies, craft materials, or office equipment. Categorizing your storage with precise labels helps create a clear structure that reduces clutter and confusion. Assign specific locations for different categories of items and ensure each container or shelf has a dedicated purpose.
Consider the frequency of use when positioning your labeled items. Place frequently accessed materials at eye level or in easily reachable spots, while storing less frequently used items on higher shelves or in less accessible areas. Your goal is to create a logical flow that makes retrieval and return of items intuitive and straightforward. Use the storage labeling guide for artists and crafters to refine your organizational strategy.
Pro tip: Periodically review and adjust your storage system. As your needs change, be willing to rearrange your labeled items to maintain an efficient and user friendly organization method.
Step 5: Verify Labels for Accessibility and Accuracy
With all your storage items labeled and organized, the final crucial step is ensuring your QR code labels work perfectly. This verification process guarantees that your carefully crafted labeling system functions as intended and provides seamless information access.
After creating and applying QR code labels, systematically test them by scanning to confirm their full functionality. Use multiple devices like smartphones and tablets to verify each label loads correctly. Check that the QR codes are not distorted during printing and that they precisely link to the intended digital content. Pay close attention to readability angle and scanning distance to ensure consistent performance across different devices and lighting conditions. Review the best practices guide for understanding comprehensive label verification techniques.
During your verification process, create a spreadsheet or checklist to track each labeled item. Note the specific location, the QR code status, and any issues encountered during scanning. This documentation helps you quickly identify and resolve any labeling inconsistencies. Systematically work through your entire labeled collection checking that every QR code provides instant access to the correct digital information.
Pro tip: Periodically re run your label verification process every few months to ensure continued accuracy and functionality of your QR code labeling system.
Transform Your Storage with Smack Tags
Struggling to maintain an organized storage system with clear, accessible labels and digital tracking can be overwhelming. This article highlights the challenge of combining physical storage solutions with smart, updatable information for seamless item management. Smack Tags offers a powerful solution that perfectly complements the detailed labeling workflow for storage described here. Our durable QR code labels let you attach detailed digital content to each storage item eliminating confusion and saving time through instant smartphone access.
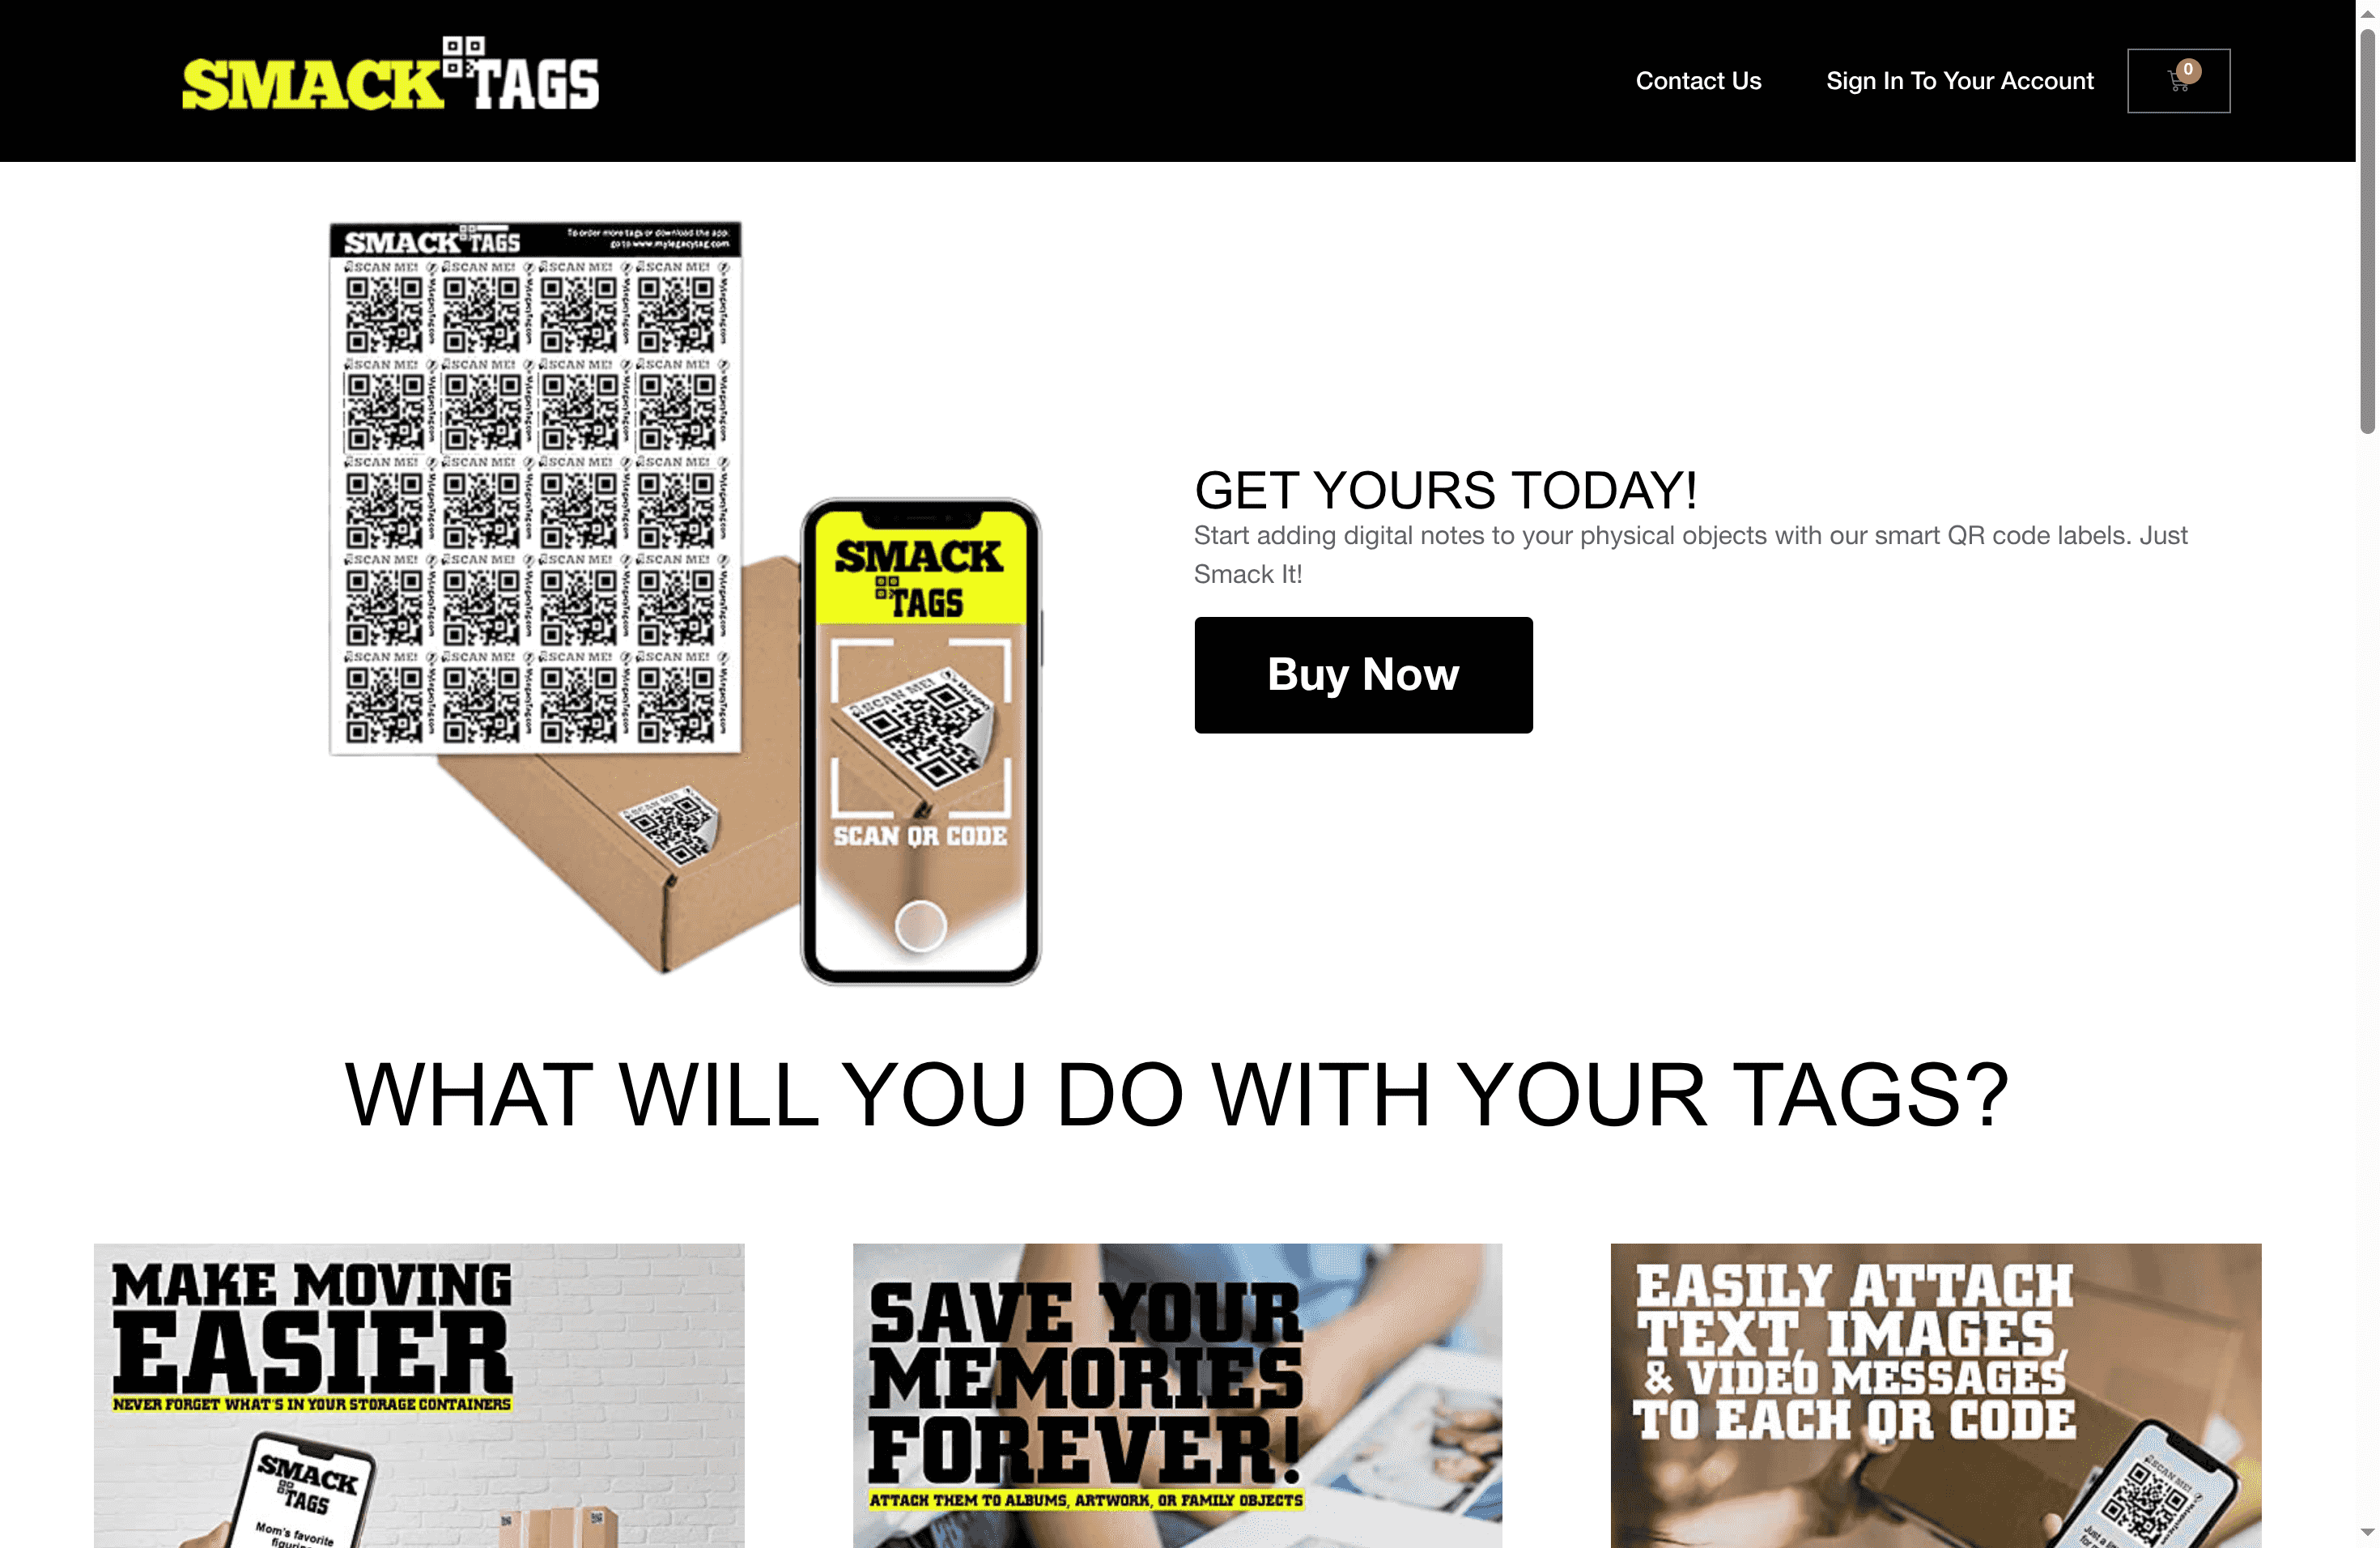
Start labeling smarter today with Smack Tags and enjoy benefits like fade-resistant, weatherproof labels that link to videos, photos, and notes—all without any app required. Whether for personal keepsakes or business inventory our system scales effortlessly to your needs. Don’t wait to upgrade your storage workflow and preserve your memories clearly and efficiently. Discover our full range of creative storage solutions at Smack Tags and see how easy it is to transform your organization process step-by-step.
Frequently Asked Questions
How do I gather and prepare my storage items for labeling?
Start by collecting all items intended for storage in one central area. Sort them into categories, such as craft supplies or seasonal decorations, to establish an organized workflow for labeling.
What type of labels should I use for my storage QR codes?
Use weatherproof labels that suit your printer for QR codes. Ensure the labels are durable and maintain the original dimensions of the QR codes to prevent scanning issues.
How can I link digital content to my QR code labels?
Determine the type of digital content, like inventory spreadsheets or maintenance instructions, that you want to associate with each QR code label. This connection adds value and accessibility to your stored items.
What is the best way to organize labeled items in my storage space?
Arrange your labeled items by grouping similar items together while clearly labeling them. Position frequently used items at eye level for easy access, while storing less commonly used items on higher shelves to maximize efficiency.
How can I verify that my QR code labels are working correctly?
Systematically test each QR code label by scanning them with multiple devices. Create a checklist to track each labeled item, ensuring they link to the correct digital content and are easily readable from different angles.
Recommended
- Step-by-Step Guide to Smart Storage Labeling Success – Smack Tags
- 7 Best Practices for Storage Labeling Artists Should Know – Smack Tags
- How to Use QR Labels for Smart Organization and Storage – Smack Tags
- Step by Step Storage Labeling for Artists and Crafters – Smack Tags
- Top Workshop Organization Ideas for Diesel Injection Pros 2025 – My WordPress
- Batchverzending Verpakkingsadvies: Complete Gids – Kadopapier.net
- Βήματα σωστής αποθήκευσης ρούχων για άψογη εμφάνιση