Step by Step QR Code Labeling for Easy Item Tracking
Over 53 percent of businesses say item loss or misplacement costs them valuable time every year. Whether tracking personal keepsakes or managing company inventory, organizing your belongings can quickly become a challenge. With today’s QR code label kits, you can transform the way you track and access information about every item you own. This guide shares practical steps for building a streamlined and reliable system that keeps your collection secure and easy to manage.
Table of Contents
- Step 1: Choose The Right QR Code Label Kit
- Step 2: Prepare Items And Gather Materials
- Step 3: Create And Link Digital Content To QR Codes
- Step 4: Apply QR Code Labels Securely
- Step 5: Test And Verify QR Code Scannability
Quick Summary
| Key Point | Explanation |
|---|---|
| 1. Choose durable QR code labels | Select labels that are water resistant, tear proof, and fade resistant for optimal longevity. |
| 2. Prepare item surfaces thoroughly | Clean items completely before applying labels to ensure strong adhesion and durability. |
| 3. Create meaningful digital content | Link valuable information or media to QR codes to enhance item tracking and storytelling. |
| 4. Apply labels with precision | Position labels carefully and ensure they are pressed firmly for maximum readability. |
| 5. Test QR codes across devices | Scan codes with multiple devices and under different conditions to ensure consistent functionality. |
Step 1: Choose the Right QR Code Label Kit
Selecting the perfect QR code label kit is crucial for creating an effective item tracking system. This step will help you identify the key features and qualities that make a QR code label kit truly useful for your personal or business needs.
When choosing your QR code label kit, focus on durability and versatility. According to nineforbrands, high-quality QR code images require strategic placement and thorough testing to ensure optimal functionality. Look for labels that are:
- Water resistant
- Tear proof
- Fade resistant
- Compatible with various surfaces
Consider the number of labels in the kit and whether they come with a subscription service that allows digital storage of your item information. Some kits offer additional features like the ability to attach videos, text, and images to your items. Pay attention to the label size and adhesive quality to ensure they work well with your specific tracking needs.
A pro tip is to test a small batch of labels first. This allows you to verify their performance and compatibility with your items before committing to a full set. Organizing With QR Codes can provide additional insights into maximizing your labeling strategy.
With the right QR code label kit selected, you are now ready to move on to the next step of creating your smart tracking system.
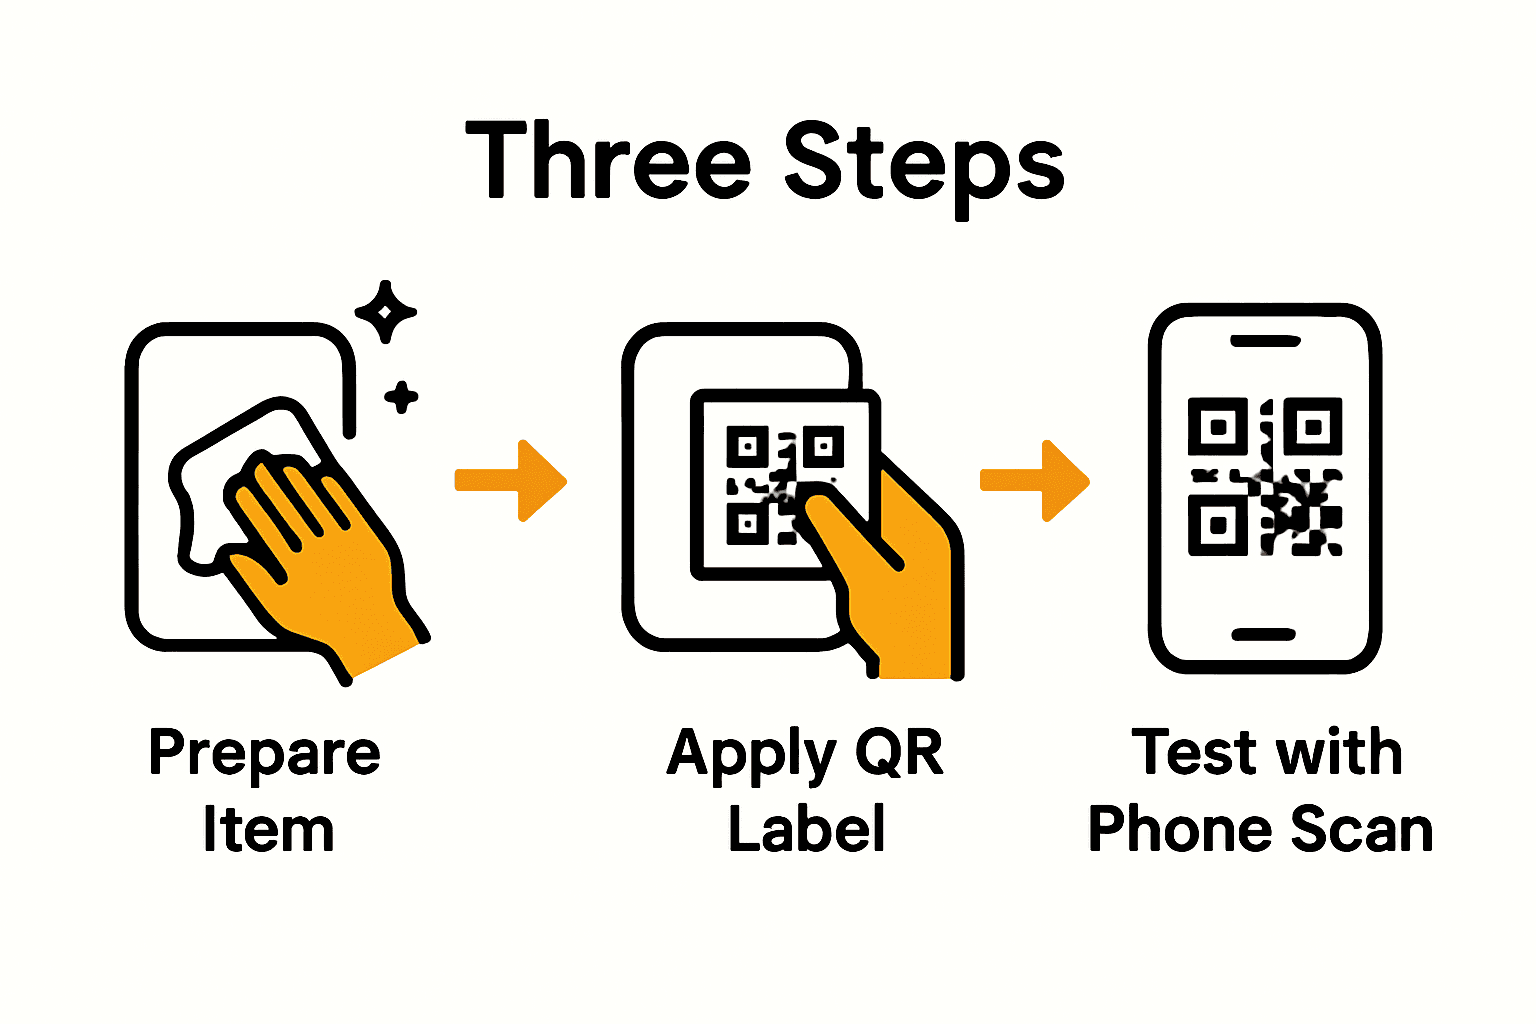
Step 2: Prepare Items and Gather Materials
Now that you have selected your QR code label kit, it is time to prepare your items and gather all necessary materials for creating a comprehensive tracking system. This step is crucial for ensuring smooth implementation and long-lasting tracking capabilities.
Start by collecting the items you want to label and creating a clear workspace. According to qrbatch, choosing the right materials is essential for QR code sticker longevity. You will need:
- Your selected QR code label kit
- Clean soft cloth or alcohol wipes
- Permanent marker
- Notepad or spreadsheet for tracking
- Clean work surface
Before applying labels, thoroughly clean each item surface to ensure proper adhesion. Remove any dust, grease, or residue that might prevent the label from sticking securely.
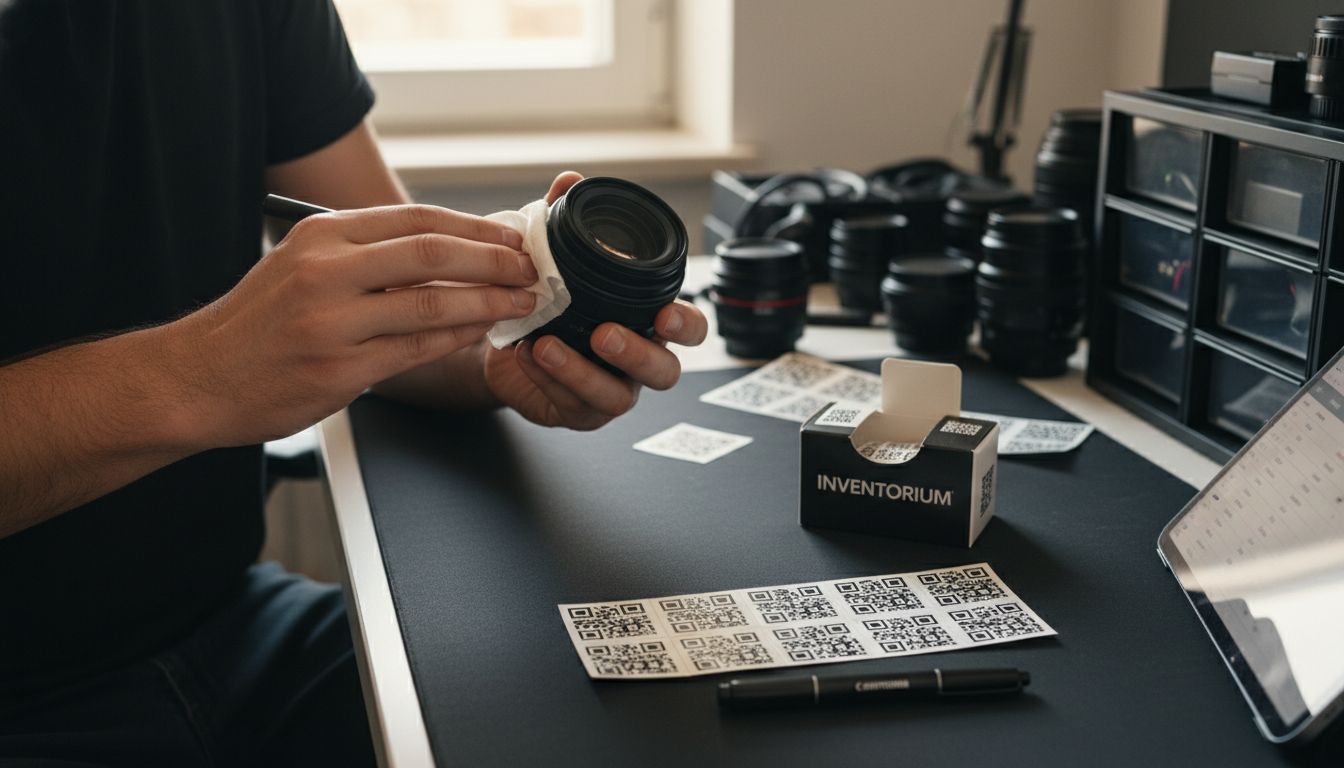 This preparation step is critical for creating durable and reliable item tracking labels that will remain intact over time.
Pro tip from Organizing With QR Codes: Create a digital inventory spreadsheet alongside your physical labeling process. This will help you track items systematically and ensure no object gets overlooked.
With your items cleaned and materials gathered, you are now ready to begin the actual labeling process.
Step 3: Create and Link Digital Content to QR Codes
This step is about transforming your QR codes from simple labels to powerful storytelling tools that capture memories and information for each tagged item. The goal is to create meaningful digital content that will be accessible through your QR code labels.
To start, open the digital platform or app associated with your QR code label kit. Most modern QR code systems allow you to attach various types of content including text descriptions, images, video recordings, and detailed notes. The Essential Guide to QR Codes for Information Access offers insights into maximizing the potential of these digital connectors.
Consider the type of information most valuable for each item. For family heirlooms, you might record a video sharing the object’s history. For business inventory, attach purchase details, maintenance records, or replacement instructions. When creating your digital content, focus on clarity and relevance. Keep descriptions concise but informative, ensuring anyone scanning the code can quickly understand the item’s significance.
Pro tip: Create a consistent naming and categorization system for your digital content to make future retrieval and management easier. This approach helps maintain an organized and meaningful digital archive of your tracked items.
With your digital content linked, you are now prepared to apply the QR code labels to your items.
Step 4: Apply QR Code Labels Securely
With your digital content prepared, it is time to apply your QR code labels with precision and care. This step requires attention to detail to ensure your labels remain readable and securely attached to your items for the long term.
According to qrbatch, selecting the right adhesive and application technique is crucial for maintaining label integrity across different surfaces. Begin by carefully positioning the label in a flat, clean area of the item where it will not be frequently touched or subjected to excessive wear. Press the label firmly and evenly to eliminate any air bubbles that might compromise adhesion.
Consider the environment where the labeled items will be stored. For objects exposed to moisture, temperature fluctuations, or frequent handling, you might need to apply an additional protective clear overlay. Complete Guide to QR Codes in Storage Solutions recommends evaluating the specific conditions each item will encounter to choose the most appropriate labeling approach.
Pro tip: Test the QR code immediately after application by scanning it with a smartphone to verify that the digital content links correctly and the code remains crisp and readable. This quick check can save you from potential issues down the line.
With your QR code labels now securely applied, your items are ready for comprehensive digital tracking and management.
Step 5: Test and Verify QR Code Scannability
After carefully applying your QR code labels, the critical next step is thoroughly testing their functionality and readability. This process ensures that your digital tracking system works seamlessly across different devices and scenarios.
According to the-qrcode-generator, a comprehensive testing protocol involves scanning the codes with multiple devices and apps under various lighting conditions. Start by testing your QR codes with different smartphones including both Android and iOS devices. Scan the codes from multiple angles and distances to verify consistent readability. Complete Guide to Information Access via QR Codes recommends checking that the digital content loads quickly and correctly every time.
Pay special attention to environmental factors that might impact scannability. Test your labels in bright sunlight, low light, and indirect lighting to ensure they remain functional across different settings. Verify that the digital content linked to each QR code is accessible and displays correctly.
Pro tip from qrbatch: Create a testing checklist that includes scanning from different devices, checking content loading speed, and confirming the accuracy of linked information. This systematic approach will help you catch and resolve any potential issues before they become problematic.
With your QR codes thoroughly tested and verified, you can confidently use your new digital tracking system.
Effortless Item Tracking Starts Here
Managing your personal or business items with clear, durable QR code labels can feel overwhelming without the right tools. This article highlights the common challenges of selecting reliable labels, preparing items for marking, linking digital content, and ensuring everything scans smoothly. You want labels that last through wear and tear, digital links that tell your story, and a simple process that fits your busy life.
Discover how our smart QR code labels at Creative – Smack Tags solve these problems. Our labels are water resistant, fade proof, and reliable for any surface so your inventory stays organized and accessible. Whether you need to preserve precious family heirlooms or streamline business inventory, these labels help you create a meaningful, visual digital archive without any complicated apps.
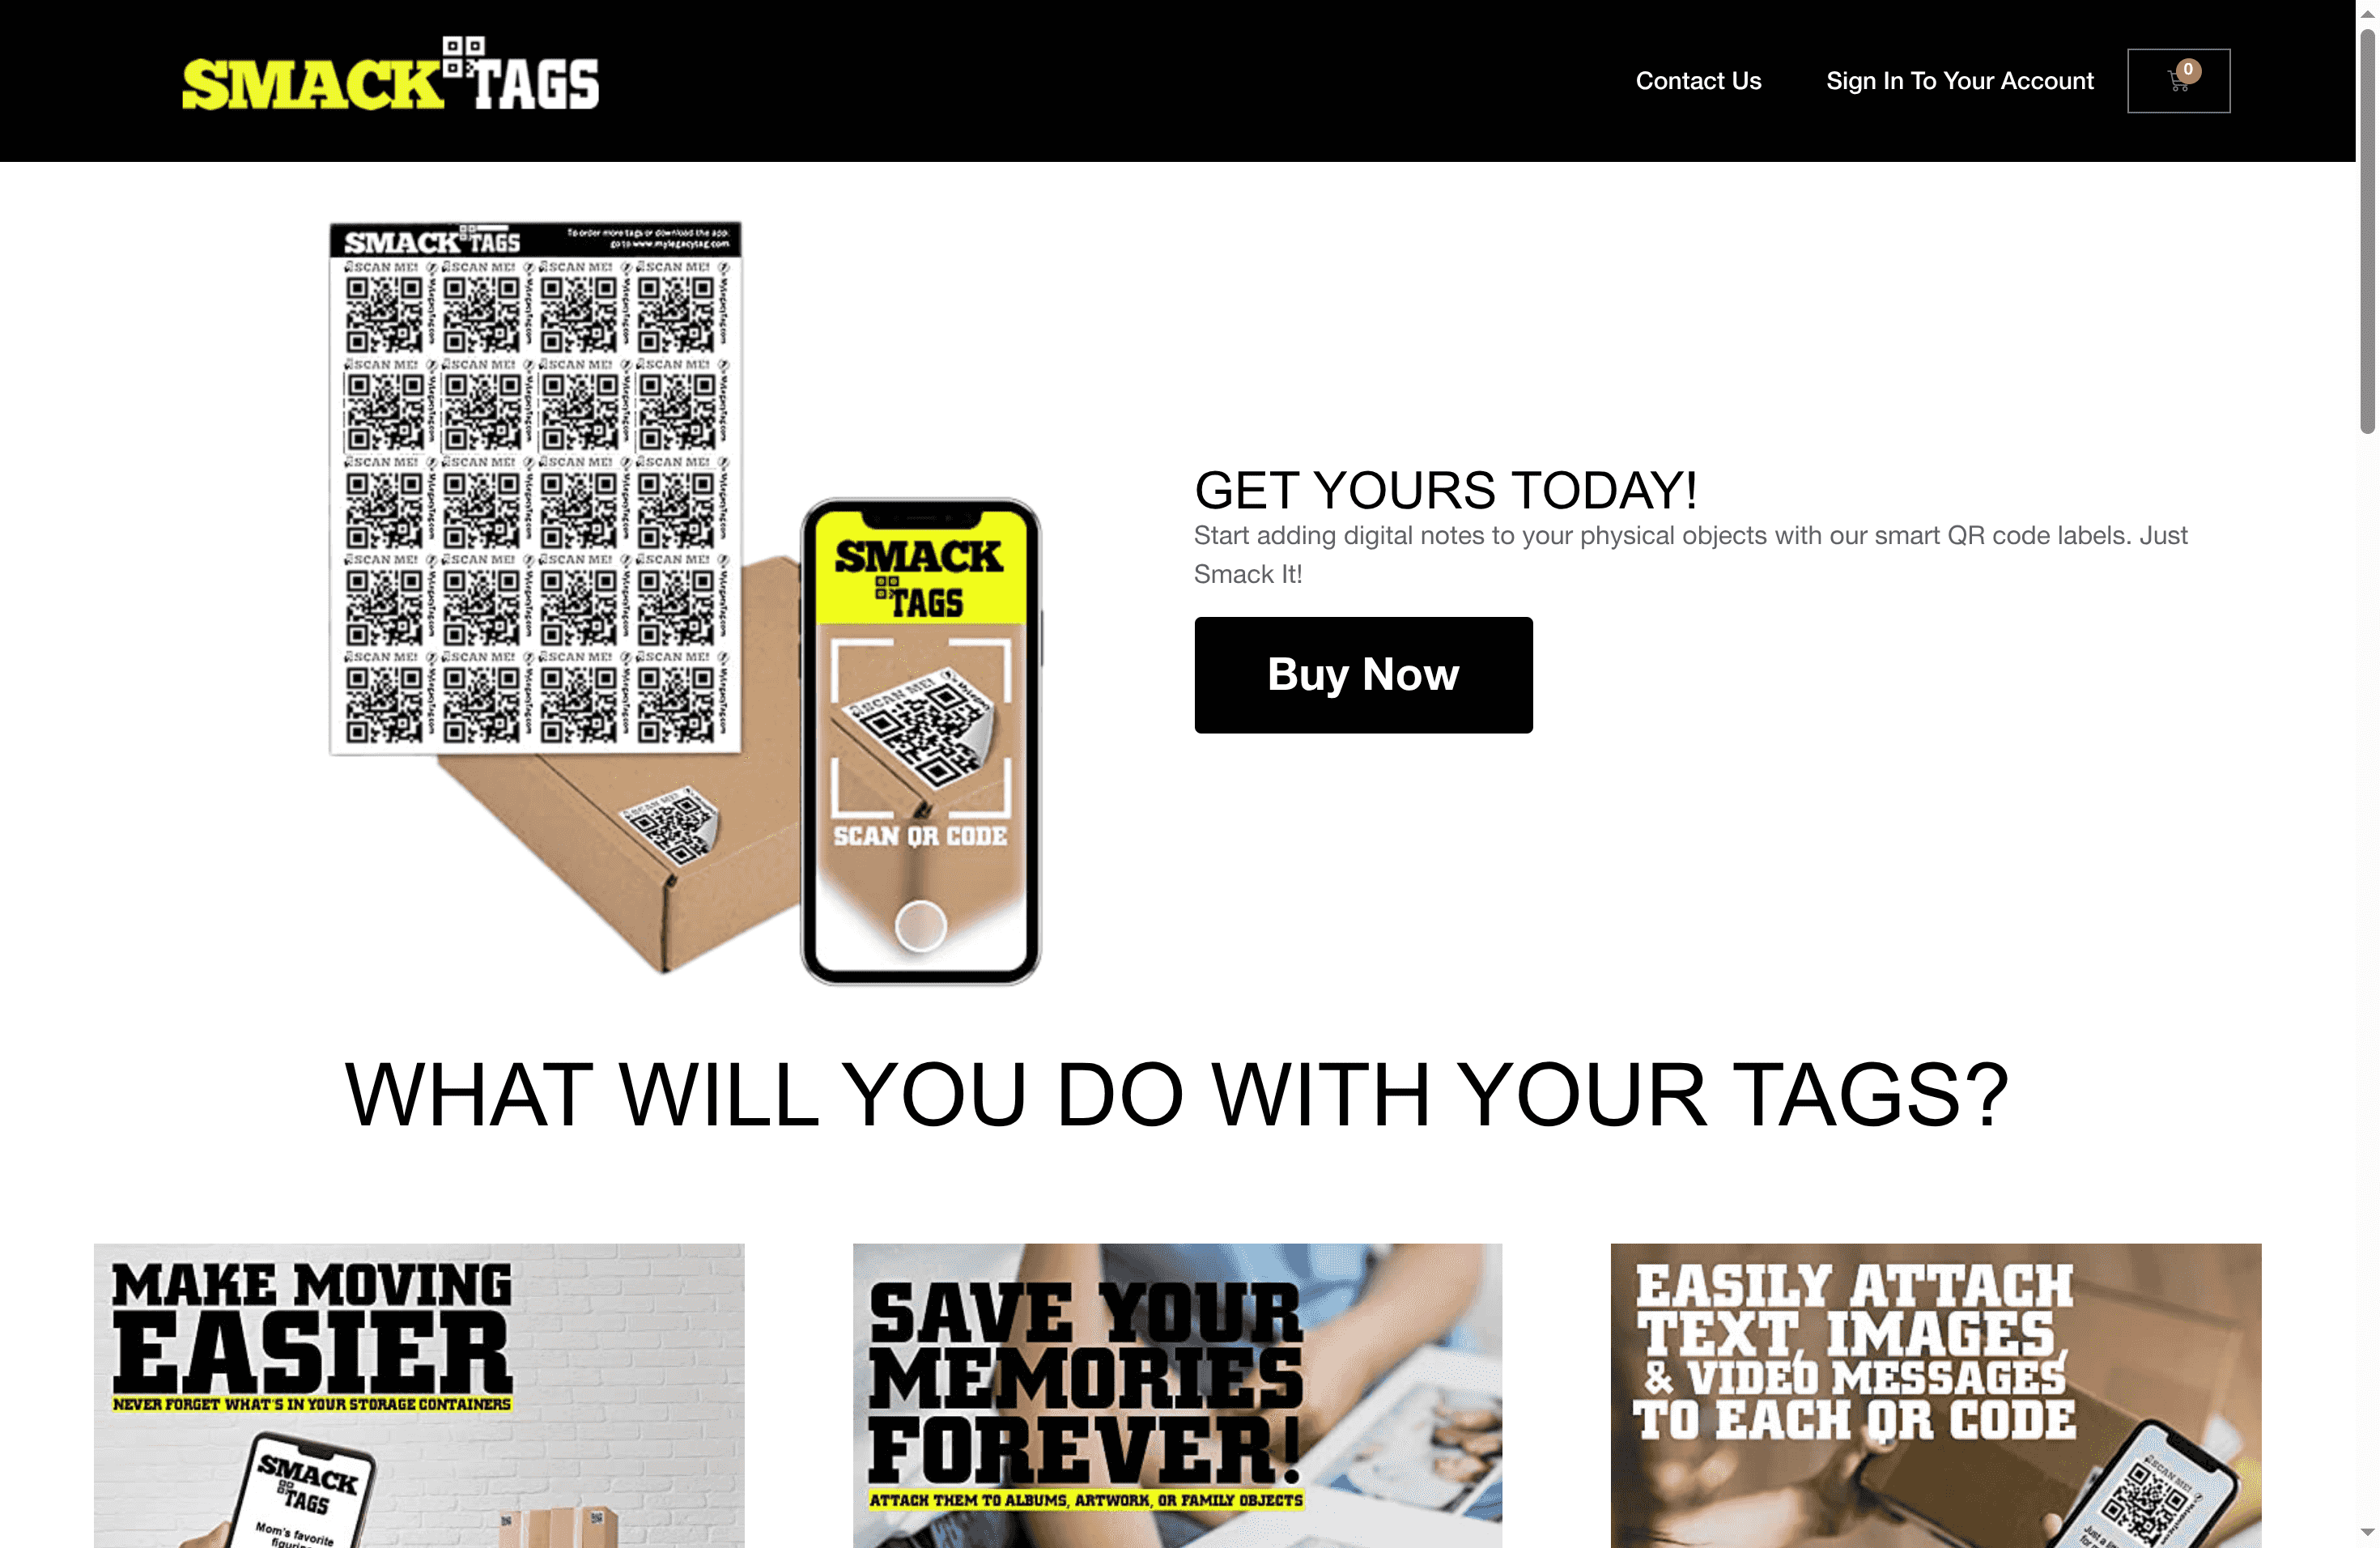
Take control of your item tracking today by visiting Smack Tags. With a handy set of 20 tags and a simple subscription, you can link videos, text, and photos that bring your items to life. Do not wait until chaos sets in. Start creating your easy, secure, and lasting labeling system now to protect memories and improve efficiency.
Frequently Asked Questions
What features should I look for in a QR code label kit for item tracking?
When selecting a QR code label kit, focus on durability features such as water resistance, tear proofing, and fade resistance. Make sure the labels are versatile enough to adhere to various surfaces, and consider any additional benefits like digital storage options for your item information.
How do I prepare my items before applying QR code labels?
To prepare your items, first gather all necessary materials and clean their surfaces thoroughly using a soft cloth or alcohol wipes. This ensures a secure adhesion for the labels, preventing them from peeling off over time.
What type of digital content can I link to my QR codes?
You can link various types of digital content to your QR codes, such as text descriptions, images, videos, and detailed notes related to each item. Focus on creating clear and concise information that enhances the value of each labeled item to anyone scanning the code.
How can I ensure my QR code labels are applied correctly?
To apply your QR code labels securely, position them on a flat, clean area of the item and press firmly to remove any air bubbles. After application, immediately test the QR code by scanning it to verify that the digital content links correctly and the code remains readable.
What should I include in my QR code testing checklist?
Your QR code testing checklist should include scanning the codes with multiple devices and under different lighting conditions to ensure consistent readability. Additionally, confirm that the linked digital content loads accurately each time you scan the QR code to prevent future tracking issues.
How can I maintain the longevity of my QR code labels?
To maintain the longevity of your QR code labels, apply them in environments that shield them from moisture, excessive wear, and temperature fluctuations. Consider using a protective overlay if the items may be exposed to harsh conditions, which can reduce label damage by approximately 30%.