Scannable Labels Tutorial: Create Smart QR Code Tags Fast
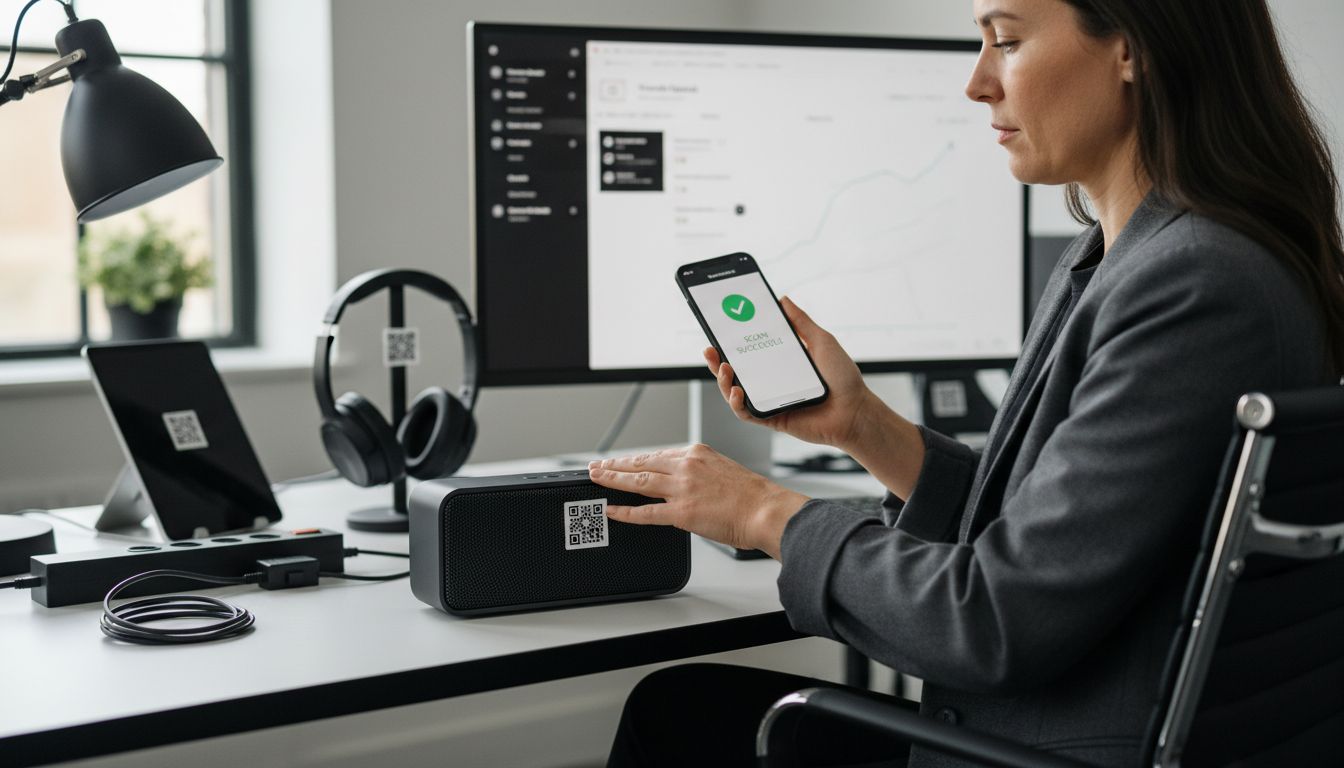
More than 11 million QR codes are scanned every day, making them a vital tool for organizing, tracking, and sharing information about physical items. Whether you want to catalog family treasures or streamline business equipment management, smart QR code labels offer a modern solution that connects your belongings to digital stories. This guide walks you through each step to create clear, scannable tags that bring new meaning to the objects you value most.
Table of Contents
- Step 1: Gather Required Materials And Set Up Workspace
- Step 2: Select And Assign Items For Labeling
- Step 3: Create Digital Content For Each QR Code
- Step 4: Link QR Codes To Digital Information
- Step 5: Apply Labels And Test Scannability
Quick Summary
| Primary Insight | Explanation |
|---|---|
| 1. Gather essential materials first | Collect QR code stickers, a digital device, and ensure proper lighting for clarity. |
| 2. Choose items that tell a story | Prioritize items that have unique histories or require digital tracking for better documentation. |
| 3. Create clear digital content | Develop concise and informative narratives to enhance understanding of each labeled item. |
| 4. Ensure correct QR code linking | Test QR codes on multiple devices to confirm that the linked information loads properly. |
| 5. Carefully apply and test labels | Place QR code labels securely and test their scannability in various conditions for reliability. |
Step 1: Gather Required Materials and Set Up Workspace
Preparing to create scannable QR code labels requires gathering a few essential materials and setting up an organized workspace. Your goal in this step is to collect everything you need and create a comfortable environment for crafting smart tags.
First, collect your materials. You will want to have your Smack Tags QR code sticker set, a clean flat surface like a desk or table, and a smartphone or computer with internet access. According to the University of Illinois Extension, when working with QR codes it is crucial to ensure your workspace provides good lighting and a solid background for creating clear labels. Aim for a white or light colored surface that will help you see details clearly.
As you set up your workspace, consider creating a small staging area where you can organize your tags, have a pen nearby for notes, and keep your digital device ready for inputting information. Pro tip: Keep a glass of water and some scrap paper handy to make your tagging process smooth and comfortable. Your workspace setup will make the entire process of creating smart QR code labels much more enjoyable and efficient.
With your materials gathered and workspace prepared, you are now ready to move on to designing and generating your first scannable labels.
Step 2: Select and Assign Items for Labeling
Now that you have your workspace ready, it is time to strategically select and assign items for your QR code labels. This step involves identifying which objects in your personal or professional space will benefit most from digital tracking and information preservation.
Consider the types of items that could use enhanced documentation. Just as QRpedia uses QR codes to provide detailed information about museum exhibits, you can use Smack Tags to create rich digital narratives for your own items. Think about family heirlooms, important documents, artwork, storage containers, electronics, or equipment that might need additional context or tracking. Look for items with interesting stories, unique histories, or those requiring specific maintenance instructions.
When selecting items, prioritize those where additional digital information would add significant value. For personal collections, this might mean attaching memories to photographs or explaining the significance of inherited objects. In business settings, you could label equipment with maintenance logs, warranty information, or usage guidelines. Pro tip: Start with a small batch of items to get comfortable with the process before labeling your entire collection.
With your items selected and a clear plan in mind, you are now prepared to move forward with generating and applying your smart QR code labels.
Step 3: Create Digital Content for Each QR Code
With your items selected, you are now ready to craft compelling digital content that will transform your QR codes from simple tags into rich storytelling tools. This step involves creating meaningful digital narratives that will bring context and depth to your labeled items.
Just as ScholarQR enables researchers to link comprehensive professional information, you can use Smack Tags to create multifaceted digital experiences for your items. Consider what type of content would be most valuable for each object. For family heirlooms, this might mean recording a video explaining the item’s history or uploading old photographs. For business equipment, you could attach maintenance records, operational manuals, or purchase documentation. The goal is to provide context that goes beyond what a physical label can communicate.
When creating your digital content, focus on clarity and relevance. Keep videos concise, write clear descriptions, and organize your digital attachments logically. Pro tip: Before finalizing your content, ask yourself if someone unfamiliar with the item would understand its significance after scanning the QR code. This approach ensures your digital narratives are both informative and engaging.
With your digital content prepared, you are now ready to link these stories to your physical items and bring your QR code labels to life.
Step 4: Link QR Codes to Digital Information
With your digital content prepared, you are now ready to connect your QR codes to the specific information you have created. This step transforms your physical tags into dynamic portals of information that can be accessed with a simple smartphone scan.
According to Microsoft Learn, creating QR code links requires careful attention to technical details. For Smack Tags, you will use the platform’s built in linking system to attach your prepared content. Navigate to the digital dashboard where you can upload videos, text descriptions, images, or document links for each specific QR code. Ensure that the content matches the specific item you have selected and provides meaningful context that enhances understanding.
As Digital.gov highlights, QR codes are powerful tools for connecting physical objects with digital resources. Pro tip: Before finalizing your links, test the QR code on multiple devices to confirm that the content loads correctly and provides a smooth user experience. Double check that the information is clear, concise, and adds genuine value to the item’s story.
With your QR codes now linked to rich digital content, you are ready to apply these smart labels and bring your items’ narratives to life.
Step 5: Apply Labels and Test Scannability
With your digital content prepared and QR codes linked, you are now ready to physically apply your smart labels and verify their functionality. This final step transforms your carefully crafted digital narratives into tangible, scannable resources that connect physical items with their rich stories.
As University of Texas Medical Branch advises, testing is crucial when implementing QR codes. Carefully apply each Smack Tag to its corresponding item, ensuring the label is placed in a flat, easily accessible location. When applying the label, press firmly to guarantee strong adhesion and avoid any wrinkles or air bubbles that might interfere with scanning. Once applied, use multiple smartphones with different operating systems to test each QR code and confirm that the linked content loads correctly and quickly.
Careful placement matters. Choose locations that are visible but not prone to excessive wear or direct sunlight. Pro tip: Test your QR codes in various lighting conditions and from different angles to ensure consistent scannability. If a code fails to scan consistently, remove and reapply the label or adjust its positioning.
 Double check that the digital content matches the physical item and provides the intended information.
With your labels applied and tested, you have successfully created a dynamic system of smart QR code tags that preserve and share the unique stories of your most cherished items.
Elevate Your Labeling with Smart QR Codes from Smack Tags
If you find organizing and preserving stories for your personal or business items challenging, you are not alone. This tutorial highlights the pain points of managing physical labels that offer limited information and complicated tracking processes. Smack Tags provides an effortless solution where you can create scannable QR code labels that store videos, images, text, and notes to enrich every item’s story.
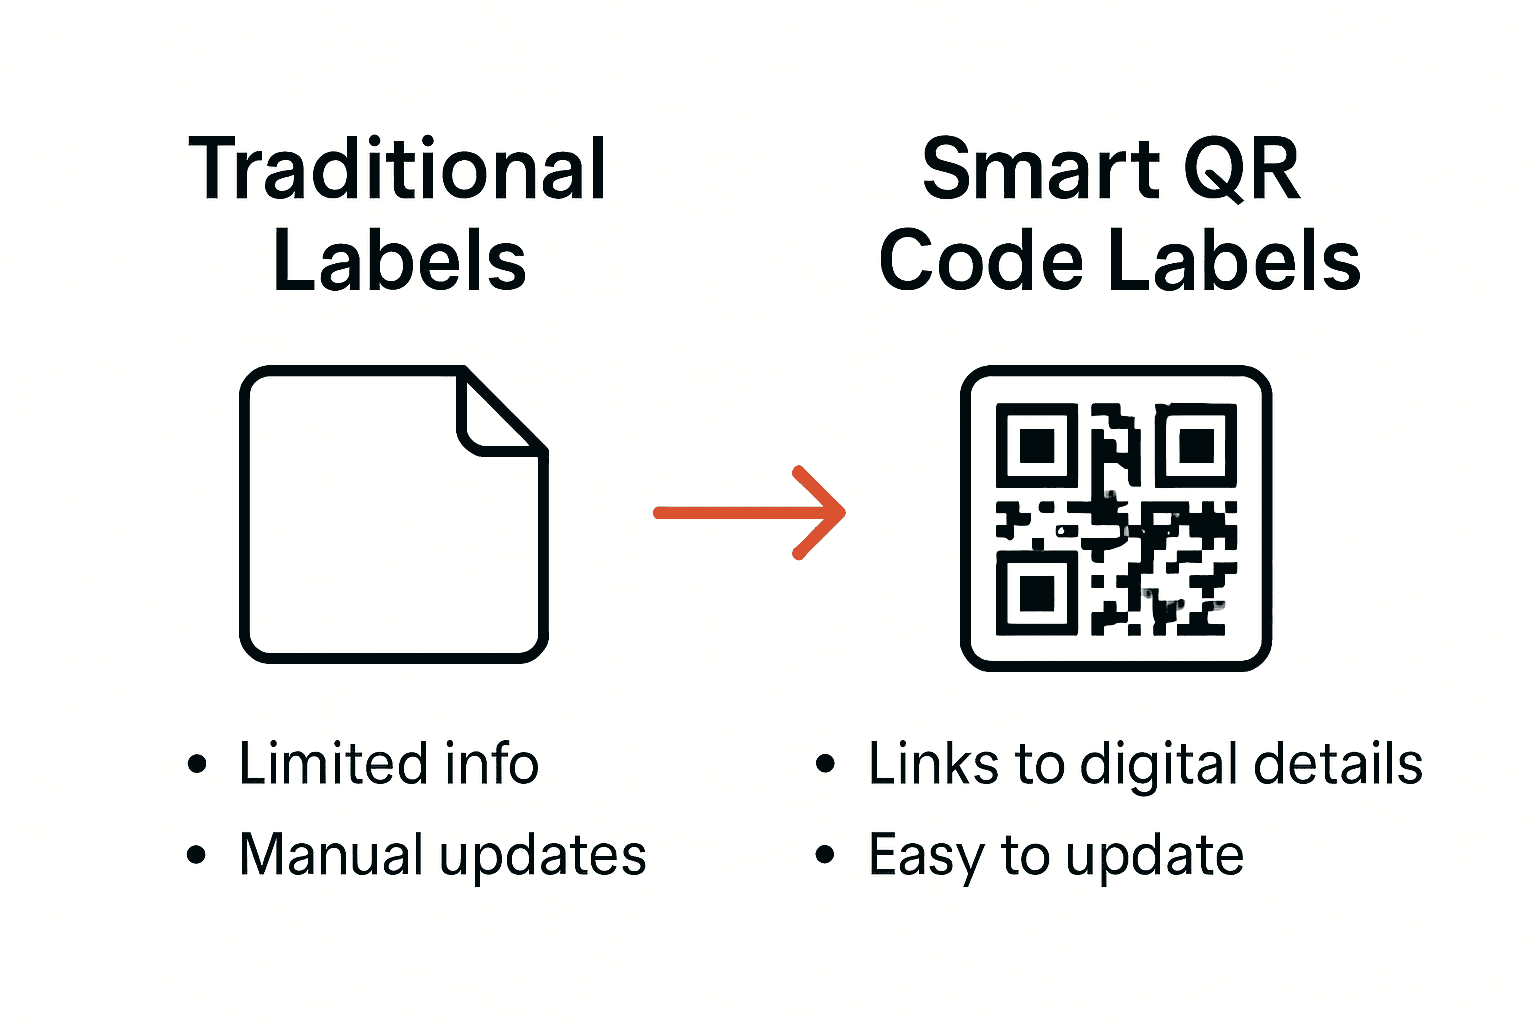 These labels make it easy to link your items to detailed digital content without needing apps or complex setups.
Explore creative ways to bring your collections, documents, or equipment to life with Smack Tags. These labels are designed to be durable and reliable for long-term use. Start your journey with the Creative – Smack Tags category where innovative uses for smart tags await you.
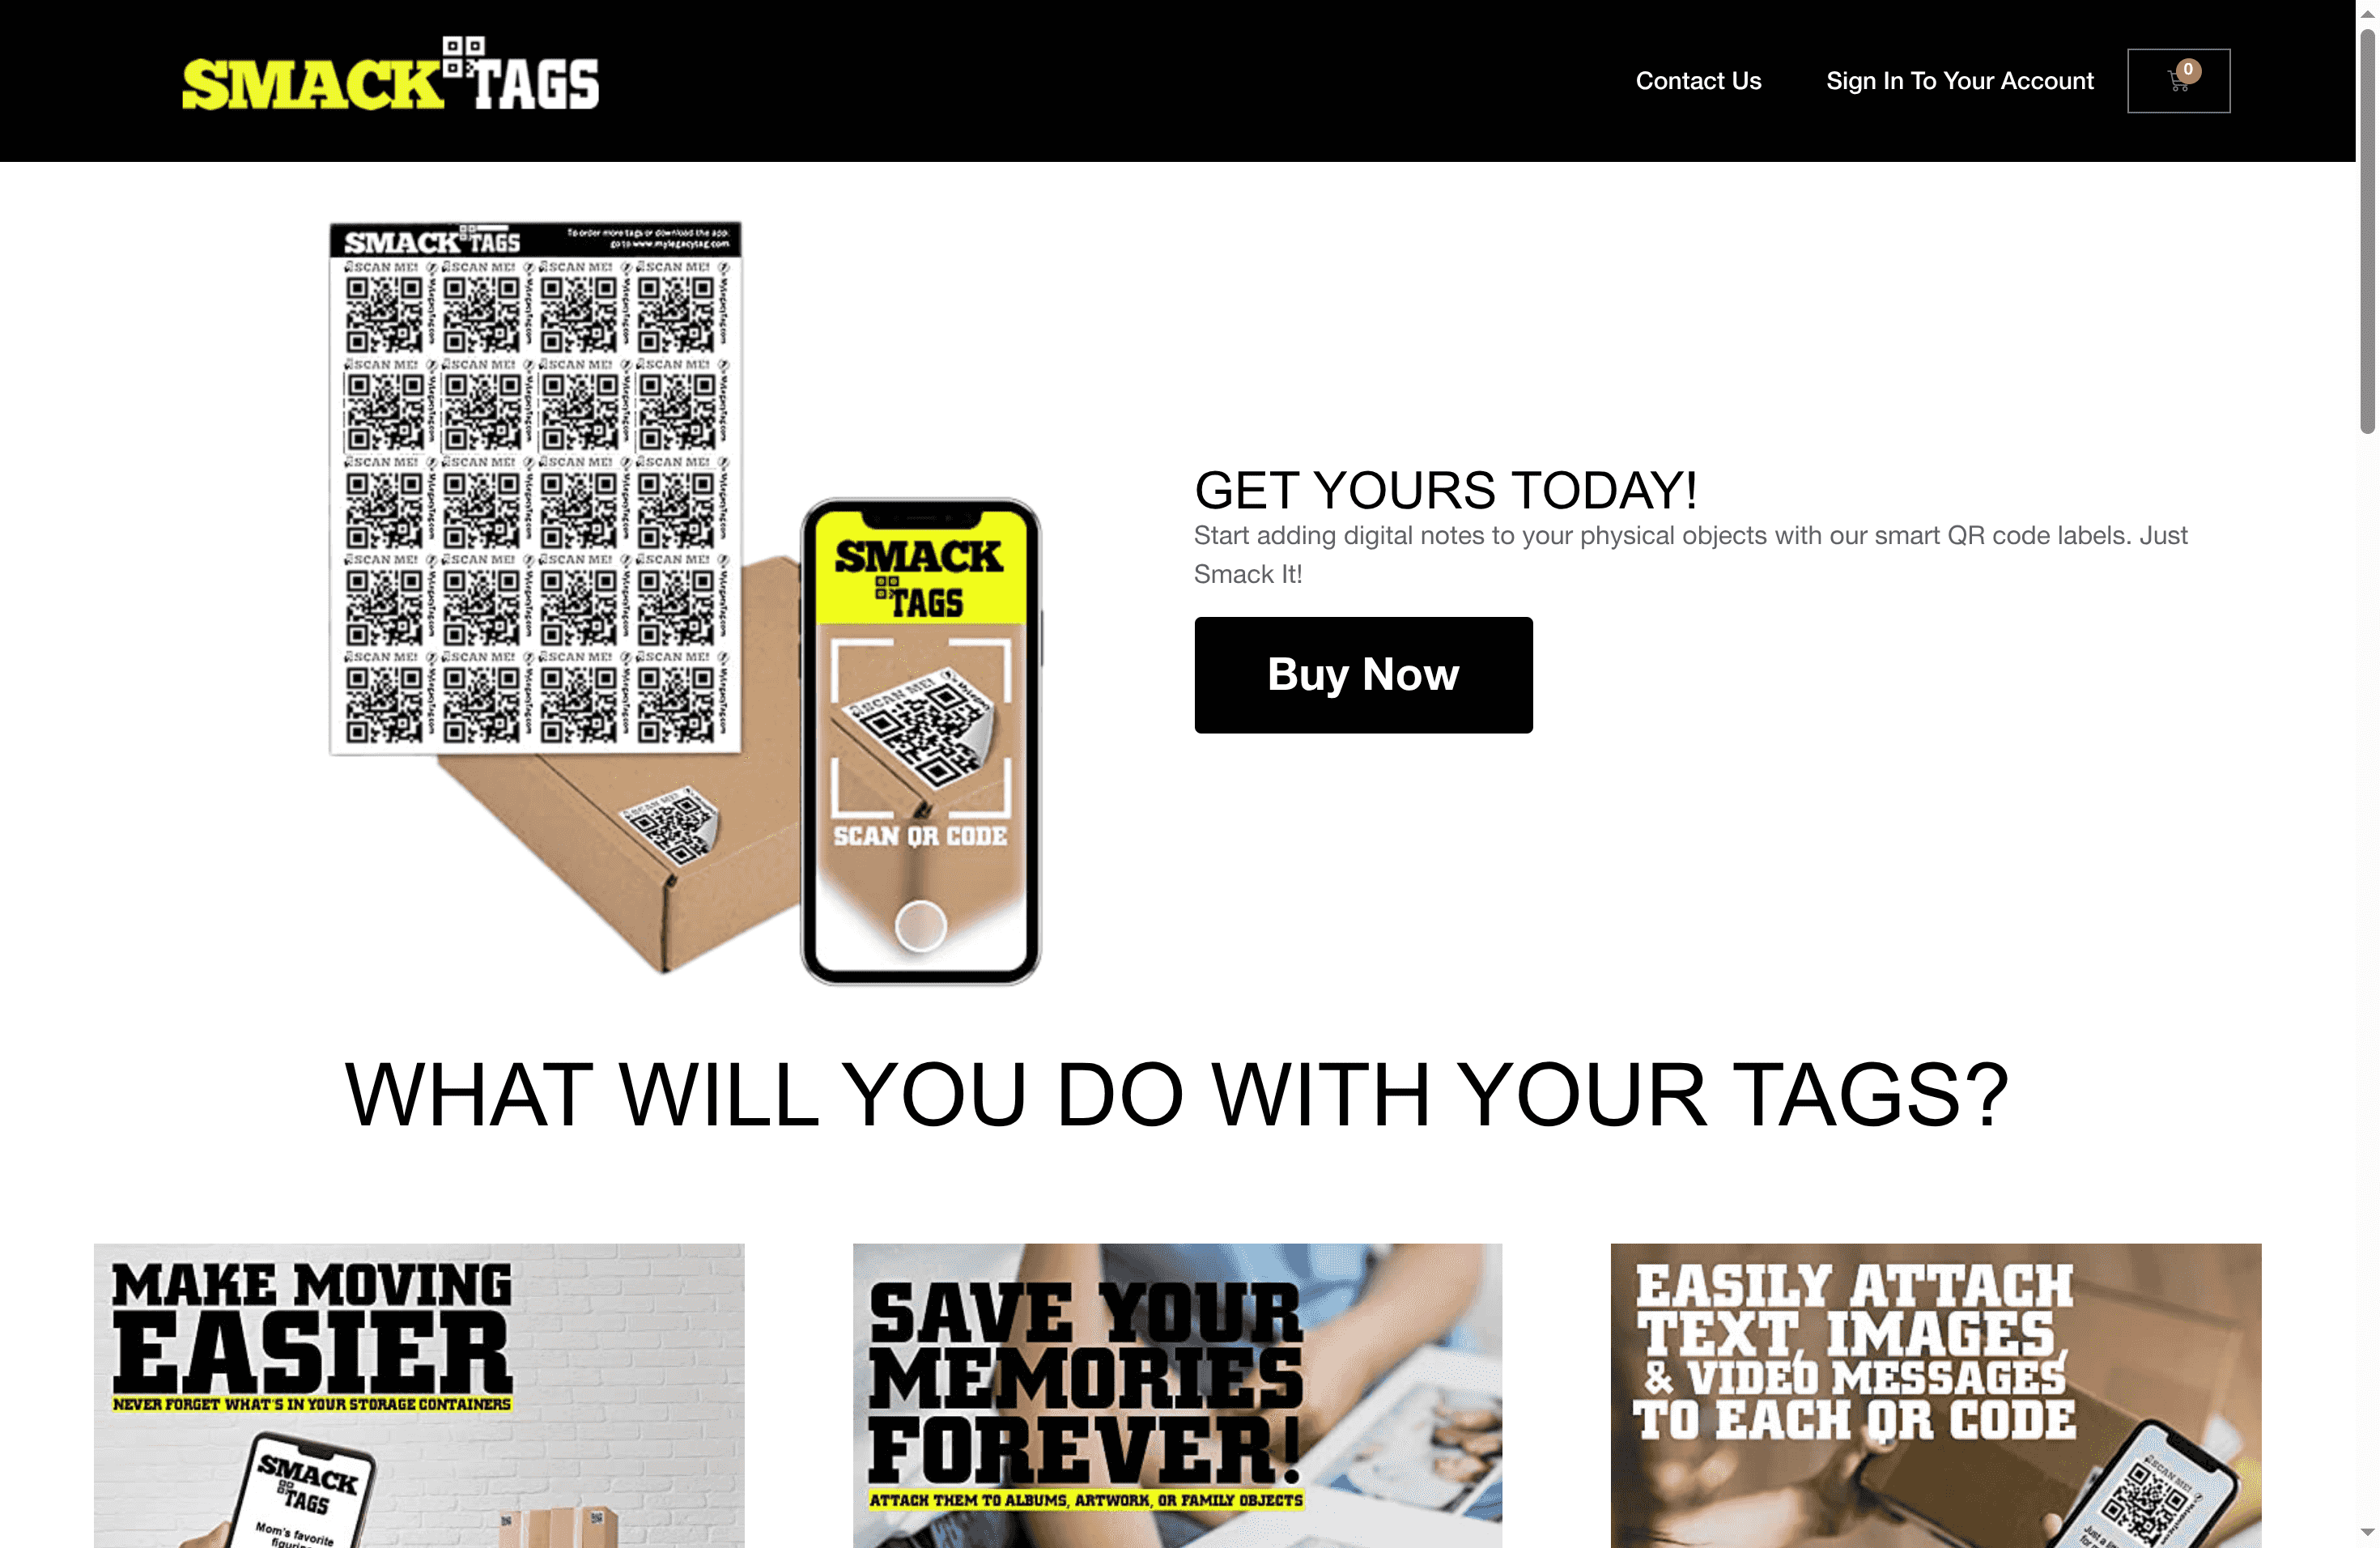
Unlock the full potential of your belongings today by visiting Smack Tags. Enjoy quick setup, secure storage, and digital access anytime you want. Don’t wait to transform your organization system into a dynamic storytelling experience that preserves memories and improves efficiency.
Frequently Asked Questions
How do I set up my workspace for creating QR code labels?
To set up your workspace, gather your QR code sticker set, a flat surface, and a smartphone or computer with internet access. Ensure good lighting and a clean background, then create a staging area for organizing your materials and taking notes.
What types of items should I label with QR code tags?
Consider labeling items that would benefit from enhanced documentation, such as family heirlooms, artwork, or business equipment needing maintenance logs. Start with a small batch of 3 to 5 items to familiarize yourself with the process before expanding your labeling efforts.
What content should I include for each QR code?
Your QR code content should provide meaningful context for the item, such as historical details or maintenance instructions. Aim for clarity by keeping descriptions concise and ensuring that any videos or documents are easy to access and well-organized.
How do I link my QR codes to the digital content I’ve created?
To link your QR codes, navigate to your designated platform and upload the prepared content for each specific QR code. Carefully confirm that the digital information associated with each code matches the corresponding item and offers valuable insights.
What steps should I take to ensure my QR codes are scannable?
After applying your QR codes, test them with multiple smartphones to ensure the content loads properly. Focus on proper label placement to avoid wear and consider testing in different lighting conditions to ensure consistent scannability.
Can I update the information linked to my QR codes later?
Yes, you can update the linked information at any time by accessing your dashboard. Regularly review and refresh the content to keep it relevant and informative for anyone scanning the QR codes.