Best Methods for Storage Labeling: Step-by-Step Guide
Did you know that over 80 percent of lost items are never recovered due to poor labeling and tracking? Staying organized is more than just tidying up—it saves you time, money, and stress when searching for what you need. By using smart storage labels and digital tagging, you can keep important belongings clearly identified and easily accessible, making your space work better for you.
Table of Contents
- Step 1: Gather Materials for Effective Storage Labeling
- Step 2: Select and Prep Items for Digital Tagging
- Step 3: Attach Scannable QR Code Labels Securely
- Step 4: Link Media and Information to Your Labels
- Step 5: Test and Verify Each Storage Label for Accuracy
Quick Summary
| Key Point | Explanation |
|---|---|
| 1. Choose durable labeling materials | Use fade-resistant and waterproof labels to ensure longevity in various environments to enhance storage organization. |
| 2. Categorize items before digital tagging | Group similar objects together for systematic tracking and easier future retrieval during the digital tagging process. |
| 3. Attach QR codes securely | Ensure proper adhesion by applying QR labels on clean, smooth surfaces and pressing firmly to avoid air bubbles. |
| 4. Link relevant media to labels | Attach photos, videos, and documents to provide context and enhance the value of physical items through digital content. |
| 5. Test and verify label functionality | Systematically scan each QR code in different conditions to ensure correct loading and a reliable digital tracking system. |
Step 1: Gather Materials for Effective Storage Labeling
Successful storage labeling begins with selecting the right tools and materials for your organizational needs. Preparing your workspace and assembling your supplies will set you up for a smooth and efficient labeling process.
Start by collecting essential materials that will help you create clear and durable labels. You will need items such as permanent markers, label makers, high-quality adhesive labels, clear plastic sleeves, waterproof tags, and a clean work surface. Consider the specific environment where your labels will be used understanding that different settings require different labeling approaches. According to Wikipedia, effective archival management relies on precise descriptive systems, which starts with selecting appropriate labeling materials.
Pro tip: Choose labels and markers that are fade resistant and can withstand various environmental conditions. Waterproof and tear resistant labels work best for storage areas with potential moisture or high traffic. Smack Tags – Just Smack It offers versatile QR code labels that provide a digital solution for tracking and preserving your stored items. These smart labels allow you to attach additional information like images, videos, and notes to your storage containers.
With your materials gathered and ready, you are now prepared to move forward with creating organized and informative storage labels that will help you track and manage your items effectively.
Step 2: Select and Prep Items for Digital Tagging
With your materials gathered, the next critical step is selecting and preparing the specific items you want to tag digitally. This process involves carefully choosing which objects will benefit most from digital tracking and organizing them for efficient labeling.
Begin by identifying items that require detailed tracking or have significant personal or professional value. According to Wikipedia, object hyperlinking allows you to extend digital information to physical items through strategic tagging. This means you can select items like family heirlooms, important documents, storage containers, artwork, or business inventory that would benefit from additional digital context. Smack Tag – 20 Pack provides versatile QR code labels perfect for creating a comprehensive digital inventory of your most important possessions.
Pro tip: Sort your items into categories before digital tagging. Group similar objects together like documents, personal keepsakes, electronics, or seasonal items. This organizational approach will streamline your digital tracking process and make future retrieval more systematic. Ensure each item is clean and dry before applying any digital tags to guarantee proper adhesion and long term durability.
With your items selected and prepared, you are now ready to move forward with the digital tagging process that will transform how you track and manage your most valuable belongings.

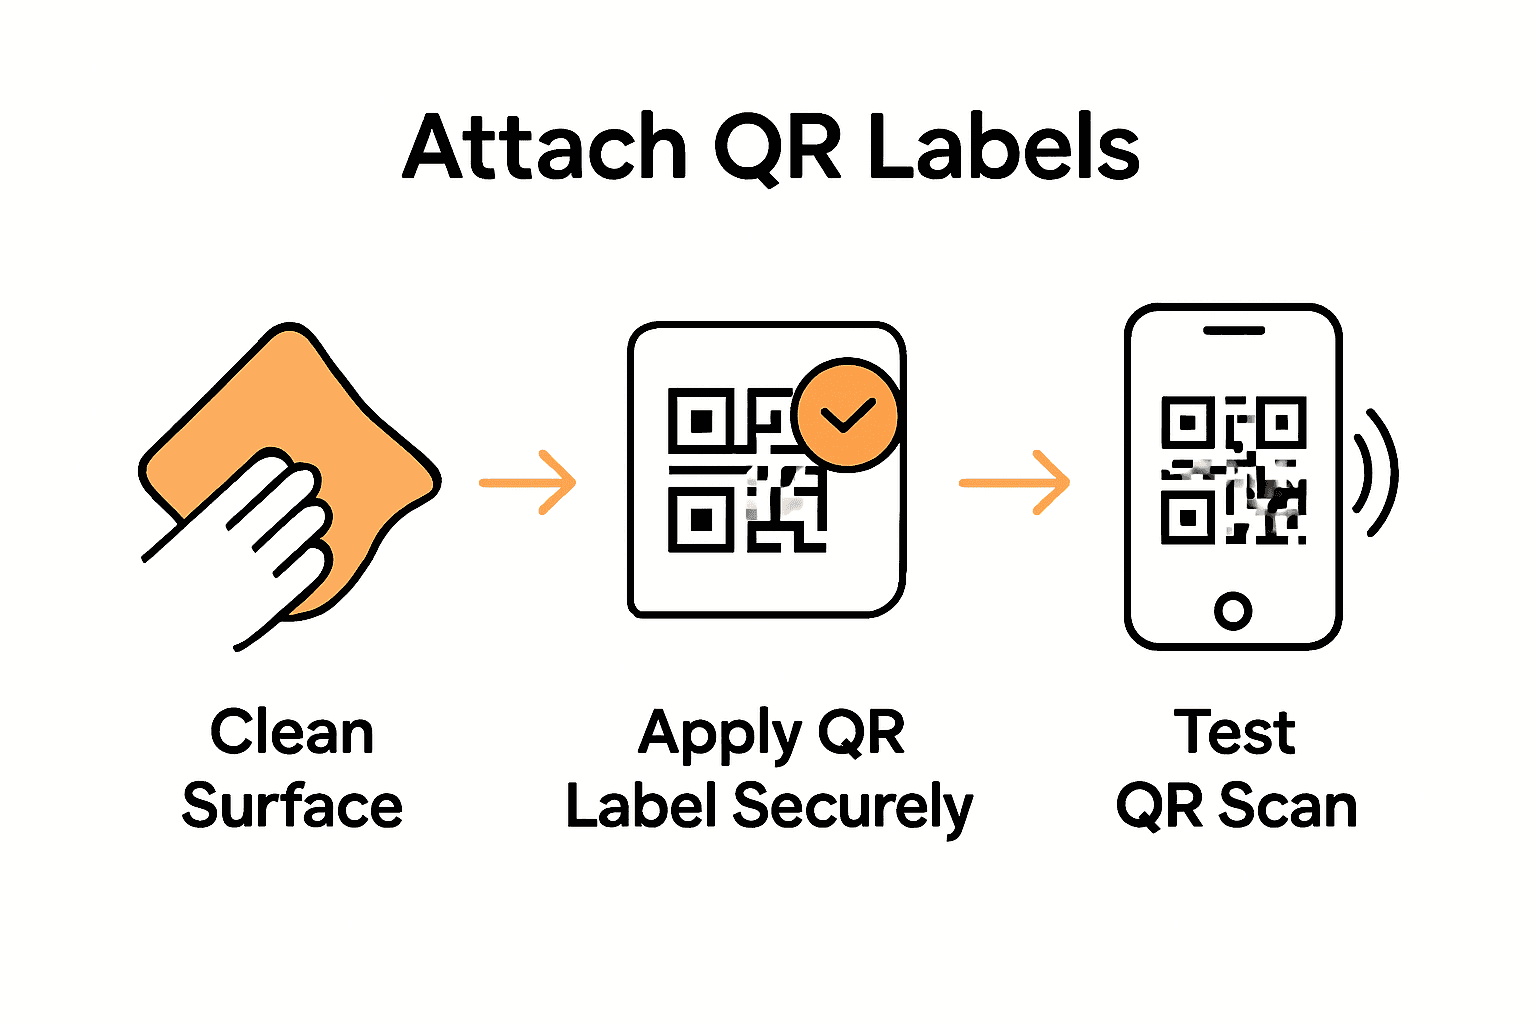
Step 3: Attach Scannable QR Code Labels Securely
Successfully attaching QR code labels requires precision and careful technique to ensure long lasting and functional digital tracking. This critical step transforms your items from simply stored to strategically documented.
Begin by selecting a clean smooth surface that will provide optimal adhesion for your QR code label. As research from arXiv suggests with innovative tagging techniques, placement matters significantly for long term identification. When applying your Smack Tags QR code labels, choose a flat area free from dirt dust or moisture that could compromise the label attachment. Press the label firmly using steady even pressure to remove any potential air bubbles and guarantee maximum contact with the surface.
Pro tip: Always apply labels at room temperature and avoid extreme environmental conditions. For items with irregular surfaces consider using additional clear protective overlays to enhance label durability. Position the QR code in a location that is easily accessible for scanning but not prone to frequent handling or wear. This strategic placement ensures your digital tags remain functional and readable over extended periods.
With your QR code labels securely attached you have now created a smart digital tracking system that bridges physical objects with dynamic digital information.
Step 4: Link Media and Information to Your Labels
Connecting digital content to your physical items transforms simple QR codes into powerful storytelling and information management tools. This step allows you to create rich digital experiences that go beyond traditional labeling methods.
Begin by exploring the digital linking capabilities of your Smack Tags. According to research from arXiv, advanced tagging approaches like the TagGNN model demonstrate how intelligent link prediction can enhance information retrieval. You can attach various media types including photos videos text documents and personal narratives to each tagged item. This process involves accessing your digital platform and uploading relevant content that provides context background or instructions for each labeled object.
Pro tip: Organize your digital content strategically before linking. Consider creating folders or categories that match your physical storage system to maintain clarity and ease of access. Think about the kind of information that would be most valuable someone scanning the QR code might find helpful such as maintenance instructions personal memories purchase details or specific usage guidelines. By curating meaningful content you transform simple labels into interactive digital archives that preserve stories and provide practical information.
With your media and information successfully linked you have now created a comprehensive digital tracking system that bridges physical objects with rich contextual information.
Step 5: Test and Verify Each Storage Label for Accuracy
After carefully creating your digital labels, the final critical step is thoroughly testing and verifying each QR code to ensure seamless functionality and information accessibility. This verification process guarantees the reliability of your digital tracking system.
Begin by systematically scanning each label using a smartphone or dedicated QR code reader. According to Microsoft, effective metadata tagging requires precise configuration of data contracts and item identifiers. Test each Smack Tags label in different lighting conditions and from various angles to confirm consistent scanning performance. Verify that all linked media uploads display correctly and that the associated information loads quickly and accurately.
Pro tip: Create a testing checklist to methodically evaluate each label. Check for label adhesion durability readability and digital content accuracy. Perform multiple scan tests in different environments to simulate real world usage scenarios. If any labels fail to perform consistently replace them immediately to maintain the integrity of your digital storage system.
With your labels thoroughly tested and verified you now have a robust and reliable digital tracking solution that transforms how you manage and interact with your stored items.
Transform Your Storage Labeling Experience with Smack Tags
Struggling with keeping your storage organized and your important items easily accessible is a common challenge. This article highlights how precise step-by-step labeling and digital tagging create a seamless way to track and preserve memories and essential information. If you want durable, waterproof, and easy-to-use labels that link your physical items to rich digital content such as videos, photos, and notes, our solutions are designed exactly for that purpose. Explore smart labeling strategies with Uncategorized – Smack Tags to see how digital inventory can elevate your storage methods.
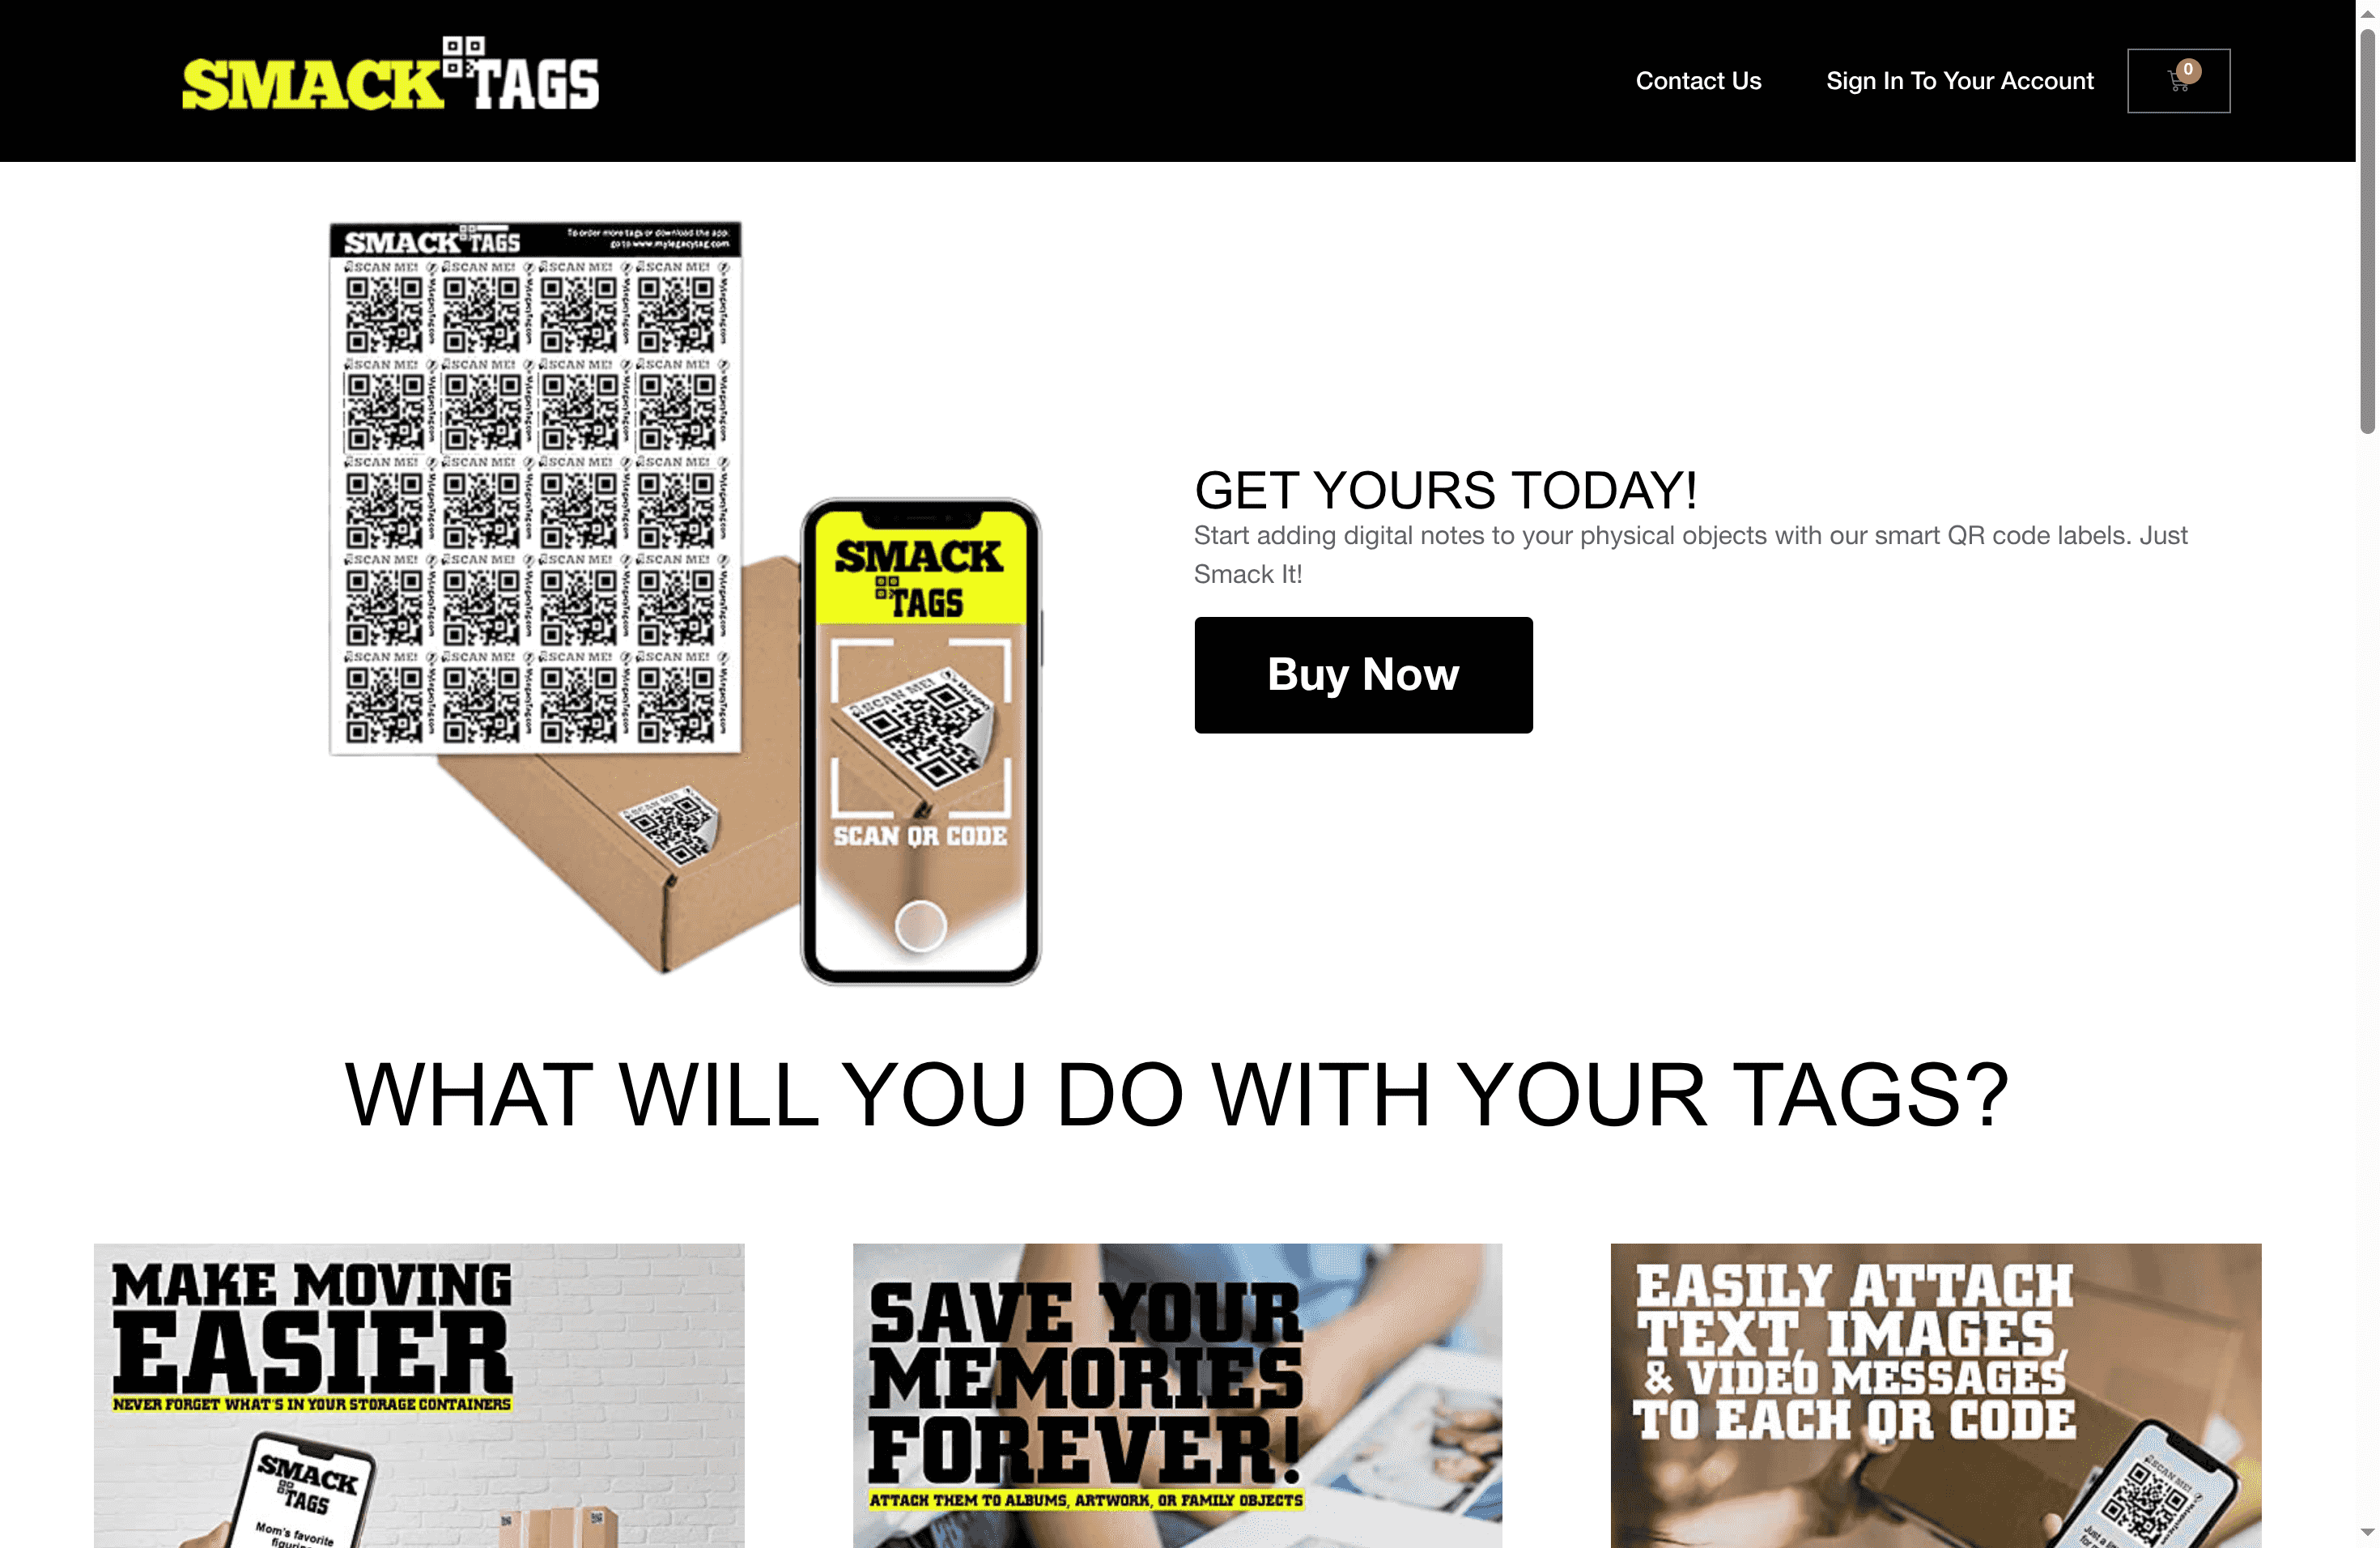
Start now and bring your storage organization into the digital age with Smack Tags. Visit https://smacktags.com to discover how our QR code labels make it simple to track, preserve, and share stories behind your most cherished and valuable items. Don’t wait until labels fade or get lost. Empower your storage system today with an easy, reliable, and interactive solution.
Frequently Asked Questions
What materials do I need for effective storage labeling?
To create effective storage labels, gather permanent markers, label makers, high-quality adhesive labels, clear plastic sleeves, and waterproof tags. Start by organizing these materials on a clean surface to ensure an efficient labeling process.
How do I select items for digital tagging?
Identify items that require detailed tracking and have significant value, such as important documents or family heirlooms. Group similar objects together to streamline the tagging process, making it easier to manage your digital inventory.
How do I securely attach QR code labels?
Carefully apply QR code labels to a clean, smooth surface to ensure proper adhesion. Press firmly to eliminate air bubbles and ensure maximum contact; this will help maintain the durability of the labels over time.
What types of information can I link to my storage labels?
You can link various media types, such as photos, videos, and documents, to your QR code labels. Organize this content into categories that match your physical storage system for easier access and context when someone scans the code.
How can I test and verify my storage labels for accuracy?
Systematically scan each label using a smartphone or QR code reader to confirm functionality. Create a checklist to evaluate label adhesion, durability, and the accuracy of linked digital content, ensuring everything performs as intended.
What should I do if a QR code label fails to scan?
If a QR code label fails to scan, check for adhesion issues or dirt on the surface. Replace or reattach the label if necessary to maintain the integrity of your digital storage system.