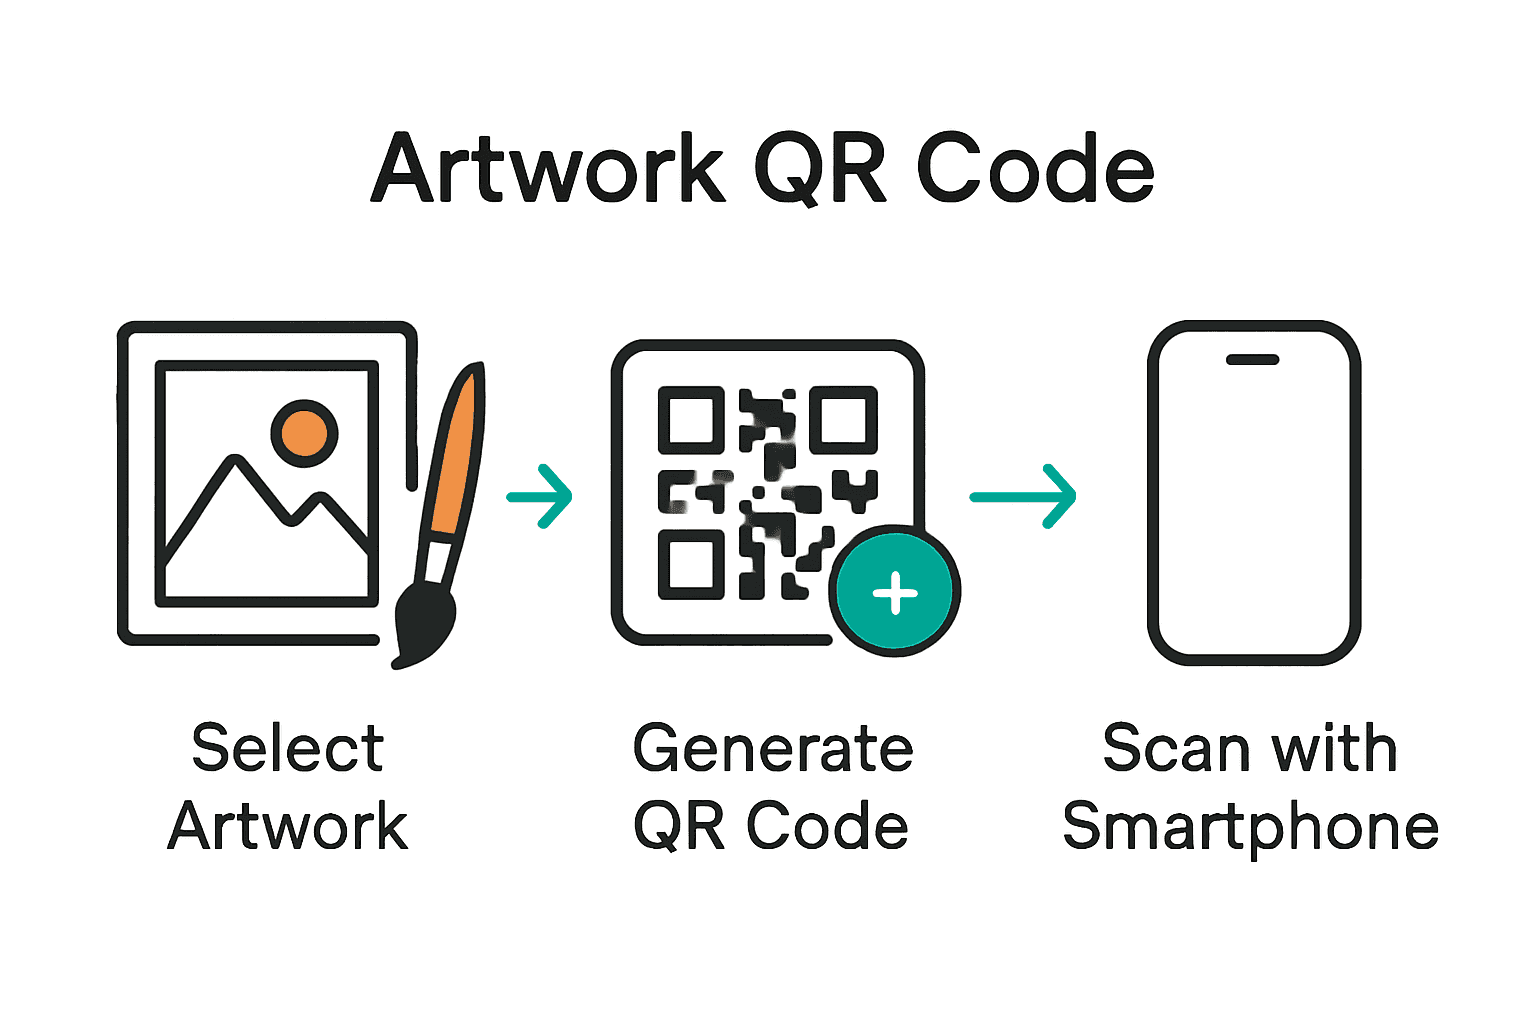
Labeling Art with QR Codes: Easy Step-by-Step Guide
Nearly 60 percent of artists say they struggle to keep track of their creations over time. Organizing and documenting your artwork is not just about staying tidy, it is about capturing the stories and meaning behind each piece you have made. Labeling artworks with personalized QR codes can make your creative journey more accessible for yourself and your viewers. This step-by-step guide will show you how to combine smart organization with digital tools so your art can be remembered and shared for years to come.
Table of Contents
- Step 1: Select And Prepare Your Art Pieces
- Step 2: Create Personalized QR Codes For Each Item
- Step 3: Attach QR Code Labels To Artwork Safely
- Step 4: Link Digital Information To Each QR Code
- Step 5: Test And Verify QR Code Functionality
Quick Summary
| Key Point | Explanation |
|---|---|
| 1. Select meaningful art pieces | Identify artworks with significant stories or emotional value for QR code integration. |
| 2. Create unique QR codes | Generate personalized QR codes that link to compelling digital content about each artwork. |
| 3. Attach codes securely | Ensure QR codes are applied in a manner that preserves the artwork’s aesthetics and integrity. |
| 4. Link engaging digital content | Connect each QR code to multimedia information that enriches the viewer’s experience of the artwork. |
| 5. Thoroughly test QR functionality | Conduct extensive tests on QR codes across different devices to ensure accessibility and reliability. |
Step 1: Select and Prepare Your Art Pieces
Getting ready to label your artwork with QR codes is an exciting way to preserve and share your creative legacy. In this step, you will learn how to thoughtfully select and prepare the art pieces that will benefit most from digital documentation.
Start by surveying your art collection and identifying pieces with interesting stories or significant personal meaning. According to Art Galleria, artwork documentation can enhance both internal inventory management and public engagement. Look for pieces that have unique backgrounds, represent important moments in your artistic journey, or hold special emotional value.
Consider selecting artworks across different categories such as:
- Completed commissioned pieces
- Personal milestone artworks
- Series or collections with interconnected themes
- Pieces with complex creation processes
As you prepare your selected artworks, ensure they are clean and in good condition. Take high quality photographs that capture the artwork from multiple angles. These images will be crucial when creating your digital QR code documentation. University of Illinois Extension recommends carefully selecting the content you will link to your QR code to guarantee relevance and accessibility.
One pro tip: Create a preliminary inventory spreadsheet where you can track each artwork you plan to label. Include details like title, date created, medium, dimensions, and any significant backstory you want to preserve. This organizational step will make your QR code labeling process much smoother.
Ready to move forward? In the next step, we will dive into generating the perfect QR codes to bring your artwork’s story to life.
Step 2: Create Personalized QR Codes for Each Item
In this step, you will transform your artwork documentation by generating unique QR codes that tell the story behind each piece. Your goal is to create digital markers that connect viewers directly to the rich narrative of your artistic creations.
According to Artwork Archive, you have three primary options for QR code generation: internal inventory links, public exhibition pages, or custom URL connections. Start by deciding what information you want to share. Will you link to a detailed artwork description, a video about its creation, or a personal narrative explaining its significance?
Here are some practical steps to generate your personalized QR codes:
- Choose a reliable QR code generation platform
- Select the type of content you want to link
- Prepare the digital content you will connect to the code
- Generate a unique QR code for each artwork
As Art Galleria recommends, design your QR codes with clarity and purpose. Ensure the linked content is accessible and meaningful. Test each QR code by scanning it with multiple devices to confirm it works perfectly.
Pro tip: Create a naming convention for your QR codes that matches your artwork inventory system. For example, use the artwork’s year and title as part of the file name to make tracking easier.
Ready for the next phase? We will explore how to professionally attach these QR codes to your artwork.
Step 3: Attach QR Code Labels to Artwork Safely
Now that you have created personalized QR codes, it is time to attach them to your artwork in a professional and secure manner. This crucial step ensures your digital documentation remains intact and accessible without compromising the artwork’s aesthetic or physical integrity.
According to Artwork Archive, placement of QR code labels is strategic. For internal inventory management, consider attaching the label to the back of the artwork. When preparing for exhibitions, position the QR code near the artwork to provide viewers with additional information without disrupting the visual experience.
When selecting and applying your QR code label, keep these guidelines in mind:
- Choose a smooth clean surface
- Select a location that does not interfere with the artwork
- Ensure the label is securely but gently attached
- Avoid placing labels on painted or delicate surfaces

Verisart recommends using tamper proof labels that provide an extra layer of security. Look for QR code stickers with holographic elements that make them difficult to replicate or remove without visible evidence.
Pro tip: Always test the QR code after application by scanning it with multiple devices to confirm it remains fully functional and easily readable.
Ready to preserve your artwork’s story? The next step will guide you through creating and managing your digital documentation.
Step 4: Link Digital Information to Each QR Code
With your QR codes ready, it is time to breathe digital life into your artwork by connecting meaningful information that tells its unique story. This step transforms your physical artwork into an interactive experience that viewers can explore beyond its visual boundaries.
According to Artwork Archive, you have three primary digital linking strategies: internal inventory links, public exhibition page links, and custom URL connections. Consider the type of story you want to share. Will you provide a detailed creation process, a personal narrative, or comprehensive provenance information?
Here are some compelling digital content ideas to link with your artwork QR codes:
- Behind the scenes video of artwork creation
- Artist statement and inspiration
- Detailed technical information about materials
- Exhibition history and previous owners
- Audio description or walkthrough
Art Galleria recommends designing your digital content to be accessible through multiple scanning platforms. This ensures that whether someone uses a generic code reader or a specialized app, they can easily access the artwork’s digital companion.
Pro tip: Keep your digital content concise yet engaging. Aim for multimedia elements that complement the physical artwork without overwhelming the viewer.
Ready to preserve your artwork’s legacy? The next step will help you manage and update your digital documentation over time.
Step 5: Test and Verify QR Code Functionality
You have crafted your personalized QR codes and linked them to meaningful digital content. Now comes a critical step that ensures your artwork’s digital story is accessible and functional. Testing your QR codes will prevent potential frustration and guarantee a smooth experience for viewers.
According to Artwork Archive, comprehensive QR code testing involves scanning and verifying the codes across multiple devices and platforms. This ensures that your digital storytelling remains consistent and reliable.
Here are some systematic testing strategies:
- Use multiple smartphone devices
- Try different QR code scanning apps
- Test in various lighting conditions
- Verify the link opens correctly
- Check loading speed of linked content
Art Galleria recommends scanning QR codes with both generic readers and specialized apps to confirm universal accessibility. This approach helps identify any potential compatibility issues before displaying your artwork.
Pro tip: Create a testing checklist and document the results for each artwork. This systematic approach will help you quickly troubleshoot any scanning problems.
Ready to showcase your digitally enhanced artwork? Your meticulously tested QR codes are now prepared to tell their stories to the world.
Elevate Your Artwork Labeling with Smack Tags
Labeling your art with QR codes lets you preserve stories and connect viewers to the heart of your creative journey. If you want to move beyond basic labeling and provide durable, easy-to-use digital tags that capture every detail of your artwork’s story, Smack Tags has you covered. Our smart QR code labels are perfect for artists aiming to document their work with multimedia links, making inventory management and public engagement effortless.
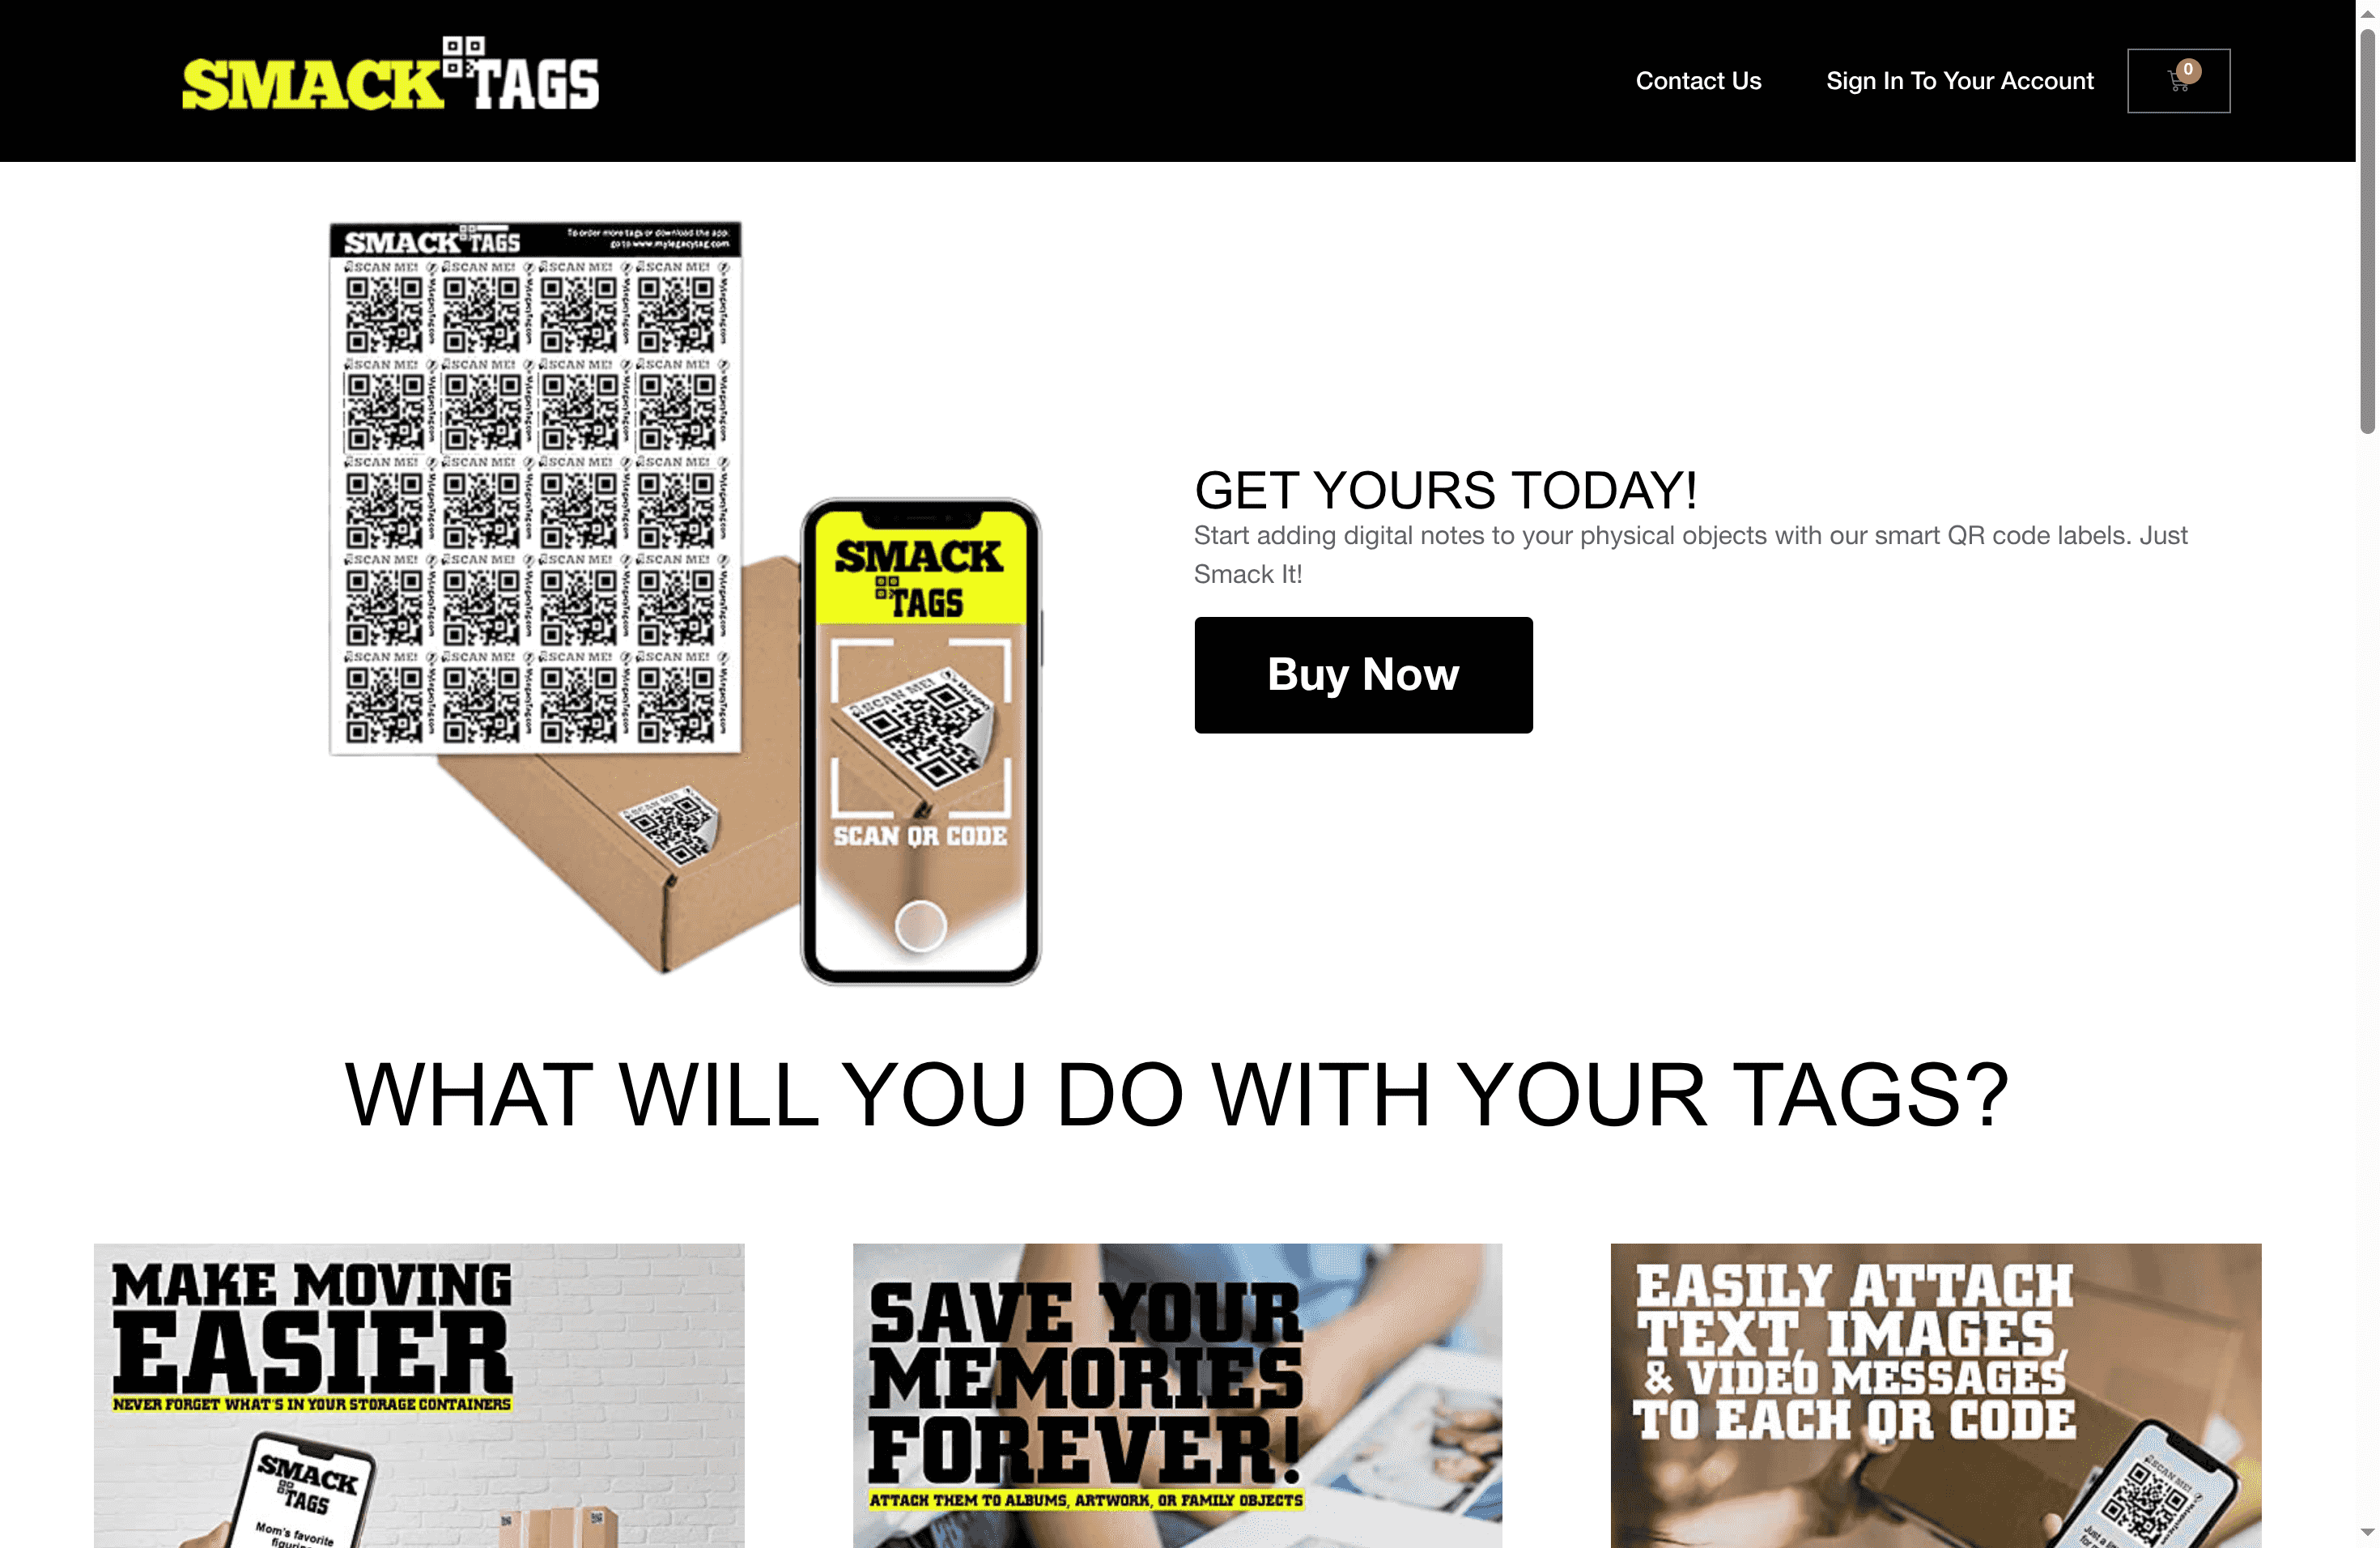
Discover the power of simple and reliable QR code labels designed for creatives like you. With features such as fade and water resistance, no app required, and seamless digital content linking, you can protect your artistic legacy while sharing it dynamically. Explore our Creative – Smack Tags collection today and take your artwork labeling to the next level. Visit Smack Tags now to start creating a visual inventory that truly preserves every masterpiece.
Frequently Asked Questions
How do I select the right art pieces to label with QR codes?
To select the right art pieces, identify those with interesting stories or strong personal significance. Consider including commissioned pieces, milestone artworks, and those with complex creation processes.
What information should I link to my QR codes?
Link information that enhances the viewer’s experience, such as detailed descriptions, videos about the creation, or artist narratives. Aim to include engaging multimedia that complements the artwork without overwhelming it.
How do I ensure my QR codes are functional after attaching them to my artwork?
To ensure functionality, test your QR codes across multiple devices and scanning apps before displaying them. Try scanning in various lighting conditions to guarantee consistent access.
What are the best practices for attaching QR code labels to my art?
Attach QR code labels to a smooth surface that doesn’t interfere with the artwork’s aesthetic. Use tamper-proof labels and place them thoughtfully to keep them secure without disrupting the visual appeal.
How can I create an inventory for my artwork when labeling with QR codes?
Create a preliminary inventory spreadsheet to organize your artwork details, including the title, date created, medium, and significant backstories. This will streamline the QR code labeling process and improve tracking.
How can I test the loading speed of the content linked to my QR codes?
Verify the loading speed by checking the linked content on various devices and networks. Aim for an optimal loading time of under three seconds to ensure a smooth viewer experience.