How to Use QR Labels for Smart Organization and Storage
Organizing storage can often become a headache for many american households, with clutter piling up and items getting lost. Making storage smarter has never been more important, especially when studies show that nearly 40 percent of americans spend extra money replacing lost or forgotten belongings. Digital tools like QR labels can change the game, turning ordinary bins and boxes into a system you actually control. Discover how bringing QR labels into your home can simplify organization and save both time and stress.
Table of Contents
- Step 1: Gather QR Labels And Select Storage Items
- Step 2: Set Up Your Digital Content And Create QR Codes
- Step 3: Attach QR Labels To Chosen Items Securely
- Step 4: Link QR Codes To Your Digital Media And Notes
- Step 5: Test QR Labels For Functionality And Durability
Quick Summary
| Essential Insight | Detailed Explanation |
|---|---|
| 1. Select Appropriate QR Labels | Choose durable QR labels suited for your environment to ensure effective tracking of items in storage. |
| 2. Create a Digital Content Plan | Gather relevant information for each item to link with your QR codes, enhancing the utility of your organizational system. |
| 3. Test QR Code Functionality | Verify that each QR code scans correctly under various conditions to ensure smooth access to your linked digital content. |
| 4. Attach Labels Strategically | Place QR labels on clean, visible areas of items to improve scanning ease and maintain organization functionality. |
| 5. Monitor and Update Your System | Regularly test and update your QR labels and digital content to maintain accuracy and usability over time. |
Step 1: Gather QR Labels and Select Storage Items
QR labels transform ordinary storage into a smart organizational system that helps you track and manage items effortlessly. In this step, you will collect the right QR labels and identify the storage containers or items you want to digitally tag.
Start by selecting the QR labels that best suit your needs. According to Clappia, professional QR code label sheets come in various sizes and are compatible with standard printing, making them versatile for different tracking purposes. Choose labels that are durable and can withstand the environment where you will place them.
Next, survey the items or storage areas you want to organize. This could include moving boxes, storage bins, home office supplies, craft materials, or personal keepsakes. Look for items that would benefit from digital tracking or additional information. As 7id suggests, QR codes can help you view contents without physically opening containers, which saves time and reduces unnecessary handling.
Pro Tip: Before applying labels, create a quick inventory list of the items you plan to tag. This will help you track your labeling progress and ensure you have enough QR labels for all your storage needs.
Ready to move forward? The next step will walk you through creating digital information for your QR labels and attaching them securely to your chosen items.
Step 2: Set Up Your Digital Content and Create QR Codes
In this step, you will transform your physical storage organization by creating digital content linked to your QR labels. This process involves preparing the information you want to associate with each tagged item and generating the corresponding QR codes.
Begin by gathering the digital content you want to attach to each item. According to PPLI, generating QR codes requires thoughtful preparation to ensure functionality and readability. For each storage item, consider what information would be most helpful such as contents description, purchase date, value, special instructions, or even personal memories and stories.
You can create digital content through various methods. Text descriptions work well for inventory tracking, while images or short video clips can add a personal touch for family keepsakes. For business storage, you might include warranty information, maintenance records, or replacement instructions. Some QR code generators allow you to directly upload documents, images, or create text entries that will be accessible when someone scans the code.
Pro Tip: Test your QR code before finalizing to ensure it links correctly and displays the intended information. Use a smartphone scanner to verify that the content loads smoothly and provides the expected details.
Ready to move forward? The next step will guide you through attaching these QR labels to your storage items securely and strategically.
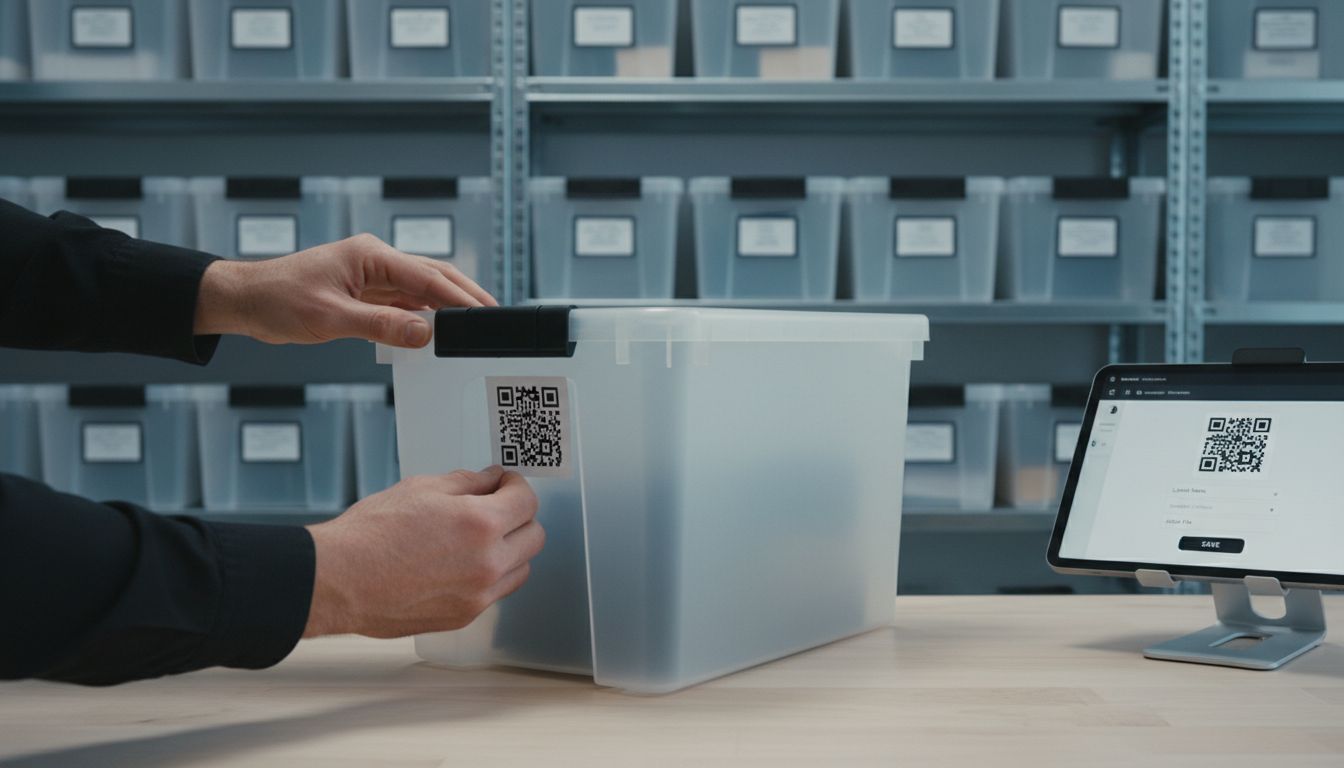
Step 3: Attach QR Labels to Chosen Items Securely
With your QR codes generated and digital content prepared, you are now ready to strategically attach these smart labels to your storage items. This critical step ensures your organizational system is both functional and user friendly.
According to Extension, proper placement and size are essential for ensuring optimal scannability. When attaching your QR labels, choose clean flat surfaces that are free from dirt, dust, or moisture. Select areas on items that are easily visible and accessible for scanning, such as the side of a storage box or the front of a container.
Carefully apply the QR label using firm even pressure to prevent air bubbles or wrinkles that might interfere with scanning.
 For items with textured surfaces, you might need to use additional adhesive to ensure the label remains securely attached. Consider the environment where these items will be stored some labels work better in climate controlled spaces while others are designed to withstand temperature fluctuations or potential moisture exposure.
Pro Tip: Always test the QR code immediately after application by scanning it with a smartphone to confirm the digital content loads correctly and the label adheres smoothly.
Ready to complete your smart storage system? The next step will help you maintain and update your newly organized collection.
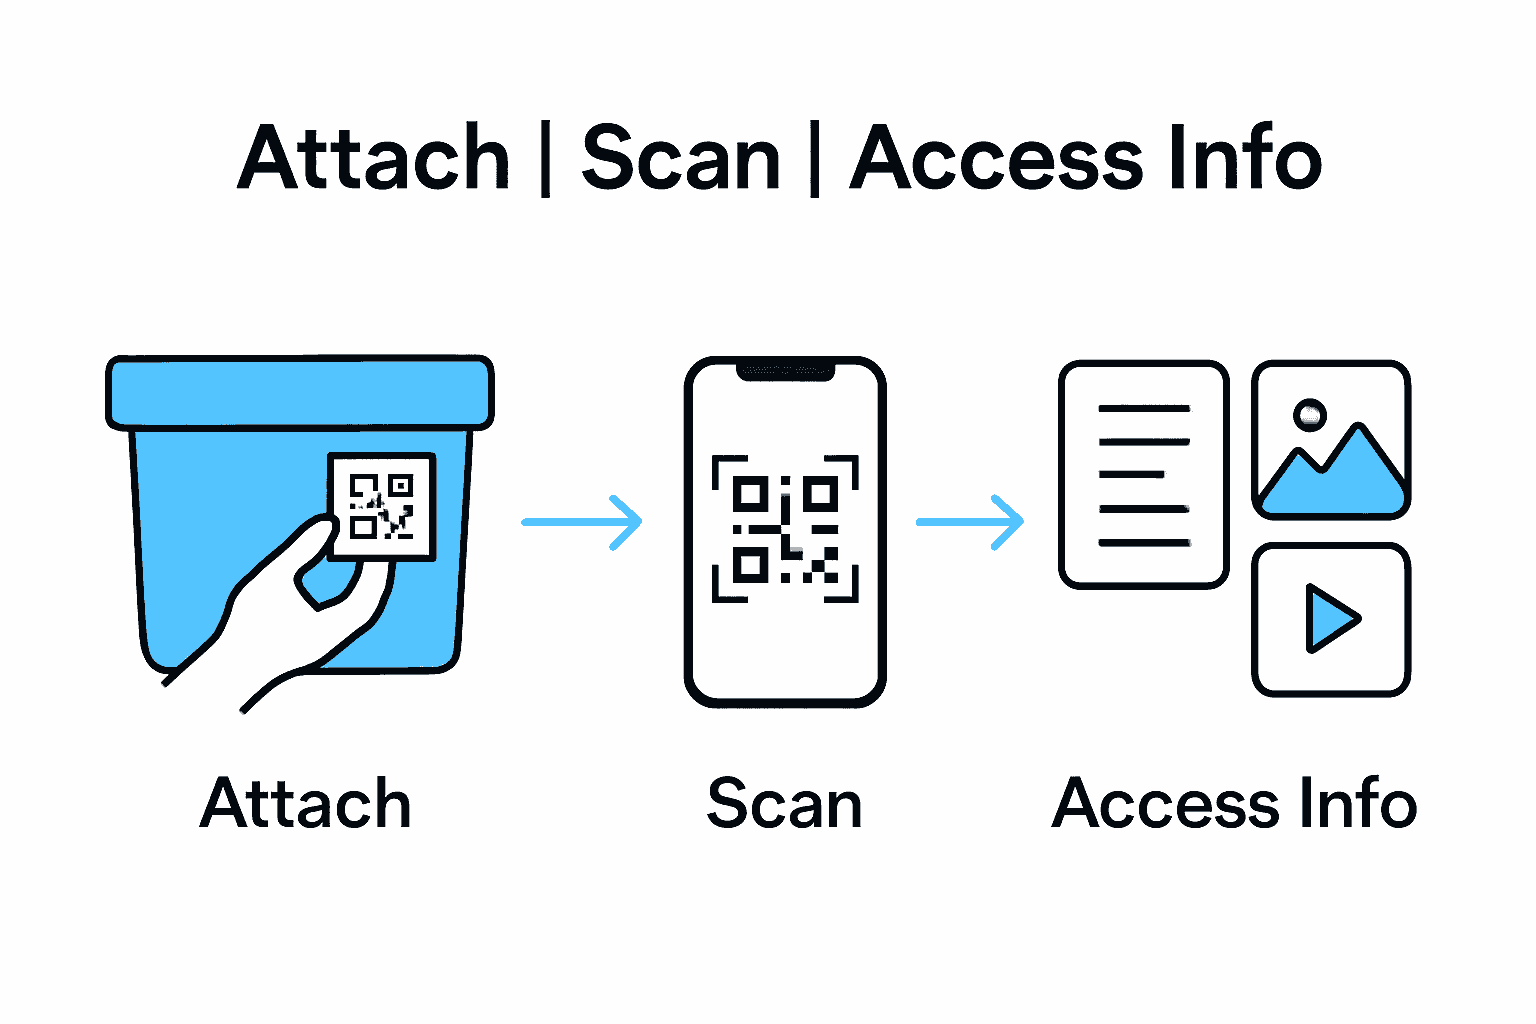
Step 4: Link QR Codes to Your Digital Media and Notes
This step transforms your QR labels from simple tags into powerful information portals by connecting them to meaningful digital content. You will now attach specific media types and notes that make your storage system truly intelligent and personalized.
According to 7id, QR codes can link directly to various digital content types, facilitating easy access to detailed information about stored items. Begin by selecting the most appropriate digital media for each item such as photographs documenting an object’s history, instructional videos showing how to use specialized equipment, or written notes explaining sentimental value and personal stories.
Consider creating different types of digital content for various storage categories. For personal keepsakes, you might link family photographs or recorded memories. For business inventory, technical specifications or maintenance records work well. Digital notes can include purchase dates, replacement costs, special handling instructions, or even emotional narratives that capture why an item matters to you.
Pro Tip: Organize your digital content systematically before linking to ensure each QR code provides clear meaningful information. Avoid overcrowding a single QR code with too many disparate files.
Ready to complete your smart storage transformation? The final step will help you test and refine your new organizational system.
Step 5: Test QR Labels for Functionality and Durability
Your smart storage journey culminates in this critical testing phase where you will verify that your QR labels perform flawlessly in real world conditions. This final step ensures your organizational system works exactly as intended.
According to Extension, thoroughly testing QR codes involves verifying their scannability under various environmental conditions. Start by using multiple smartphone devices and scanning apps to confirm each label reads correctly. Test your QR codes in different lighting conditions bright sunlight indirect indoor light and even low light scenarios to ensure consistent performance.
Evaluate the physical durability of your labels by simulating typical storage environments. Check how the labels respond to potential temperature changes moisture exposure and frequent handling. Some labels might need additional protective coating if they will be placed in high traffic areas or exposed to more extreme conditions. Pay special attention to labels on items that will be moved frequently or stored in challenging spaces like garages workshops or outdoor storage units.
Pro Tip: Create a simple tracking sheet where you record each QR codes performance noting any scanning issues or physical wear. This documentation will help you quickly replace or reinforce labels that do not meet your durability standards.
Congratulations on completing your smart storage transformation. Your meticulously organized system is now ready to simplify your life and preserve your most important items.
Transform Your Storage with Smart QR Labels from Smack Tags
Struggling with clutter and wasted time searching through boxes and bins Your solution lies in adopting smart, durable QR code labels that make organization effortless and accessible. As detailed in the article, attaching QR labels lets you quickly access detailed information, personal stories, and important records without the hassle of manual lists or guesswork. Smack Tags offers a powerful way to bring this vision to life for both personal and business storage needs.
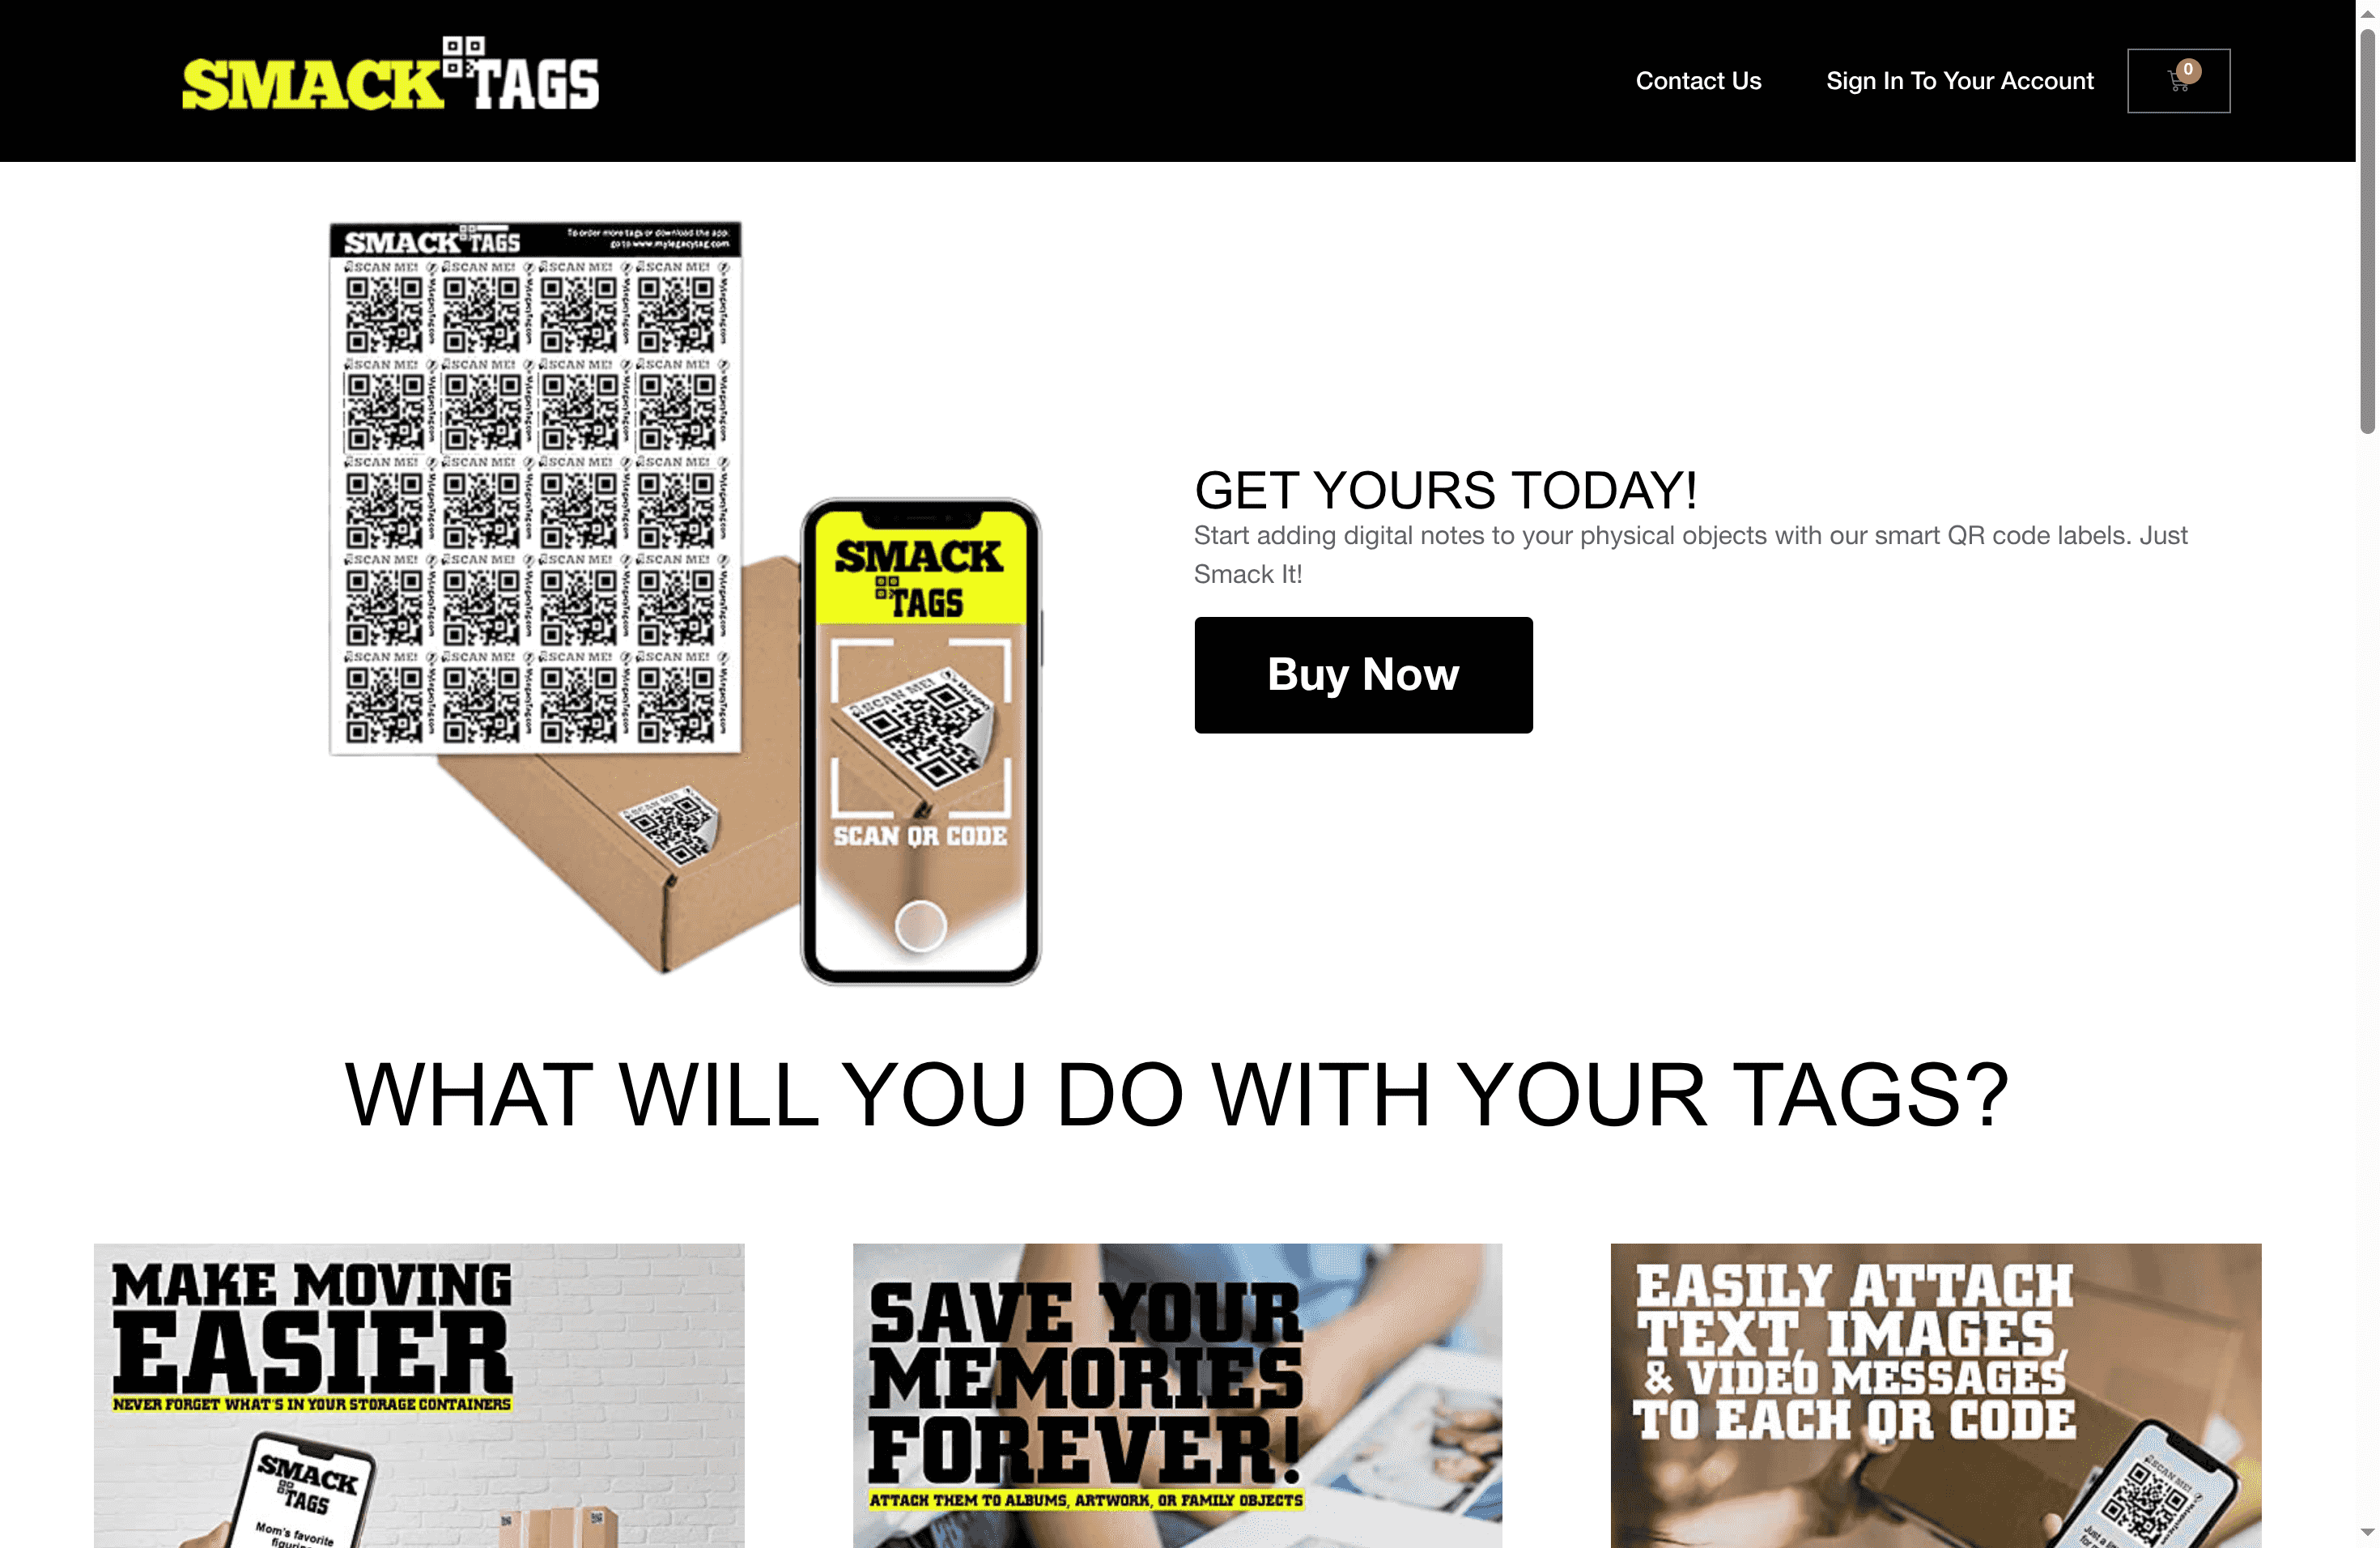
Explore innovative ideas on Creative – Smack Tags for personalizing your storage and preserving memories. With Smack Tags you can digitize your inventory and keep videos, text, and photos linked directly to your items using labels that are fade, tear, and water resistant. Start your smart storage transformation today at https://smacktags.com and simplify access while protecting your treasures. Don’t delay organize smarter now for long lasting convenience and peace of mind.
Frequently Asked Questions
How do I select the right QR labels for my storage items?
Choose QR labels that are durable and compatible with standard printing. Ensure they can withstand the environment where you will be placing them, whether it’s indoors or outdoors.
What types of information can I link to my QR labels?
You can link various types of information such as item descriptions, purchase dates, values, and personal memories. Consider also including images or videos to make the content more engaging for family keepsakes or detailed for business items.
How do I ensure that my QR labels are easily scannable?
Attach the QR labels to clean, flat surfaces that are visible and easily accessible. Test the labels immediately after applying them to confirm they scan properly, using different lighting conditions for thorough verification.
What steps should I take to maintain my QR labeling system?
Regularly test the scannability and durability of your QR labels, especially if items are frequently moved. Keep a tracking sheet to document any issues and replace or reinforce labels as needed based on their performance.
How can I enhance organization using QR codes in my storage system?
By linking images, videos, and detailed notes to each QR code, you make your storage system more informative and personal. Organize your digital content clearly to ensure that each scanned QR code provides meaningful information without being overcrowded.
Recommended
- Step-by-Step Guide to Smart Storage Labeling Success – Smack Tags
- Complete Guide to QR Codes in Storage Solutions – Smack Tags
- Step by Step QR Code Labeling for Easy Item Tracking – Smack Tags
- Best Methods for Storage Labeling: Step-by-Step Guide – Smack Tags
- Label Printing Guide: How to Create Perfect Business Labels – www.printcafeusa.com