Step-by-Step Guide to Smart Storage Labeling Success
More than 60 percent of organized storage spaces end up messy again within a few months. Staying organized often feels out of reach, especially when you have a mix of keepsakes, documents, and random supplies taking over your shelves. Smart labeling with QR codes offers a fresh approach that puts everything in order and at your fingertips. This guide shows you how to connect physical storage to digital stories, making organization effortless and meaningful.
Table of Contents
- Step 1: Assess Storage Needs And Gather Supplies
- Step 2: Create Digital Content For Each Item
- Step 3: Generate And Link QR Code Labels
- Step 4: Apply And Organize QR Code Labels
- Step 5: Test And Verify Label Accessibility
Quick Summary
| Key Point | Explanation |
|---|---|
| 1. Assess storage needs thoroughly | Evaluate your space and items to create a comprehensive inventory before labeling. |
| 2. Create meaningful digital content | Develop concise narratives or descriptions for each item to enhance their significance. |
| 3. Generate functional QR code labels | Link QR codes to digital content for seamless access to information about stored items. |
| 4. Apply labels strategically and visibly | Make sure QR codes are easy to scan and placed where they are not obstructive. |
| 5. Regularly test and verify QR codes | Conduct systematic checks to ensure QR codes and linked content are always accessible and up to date. |
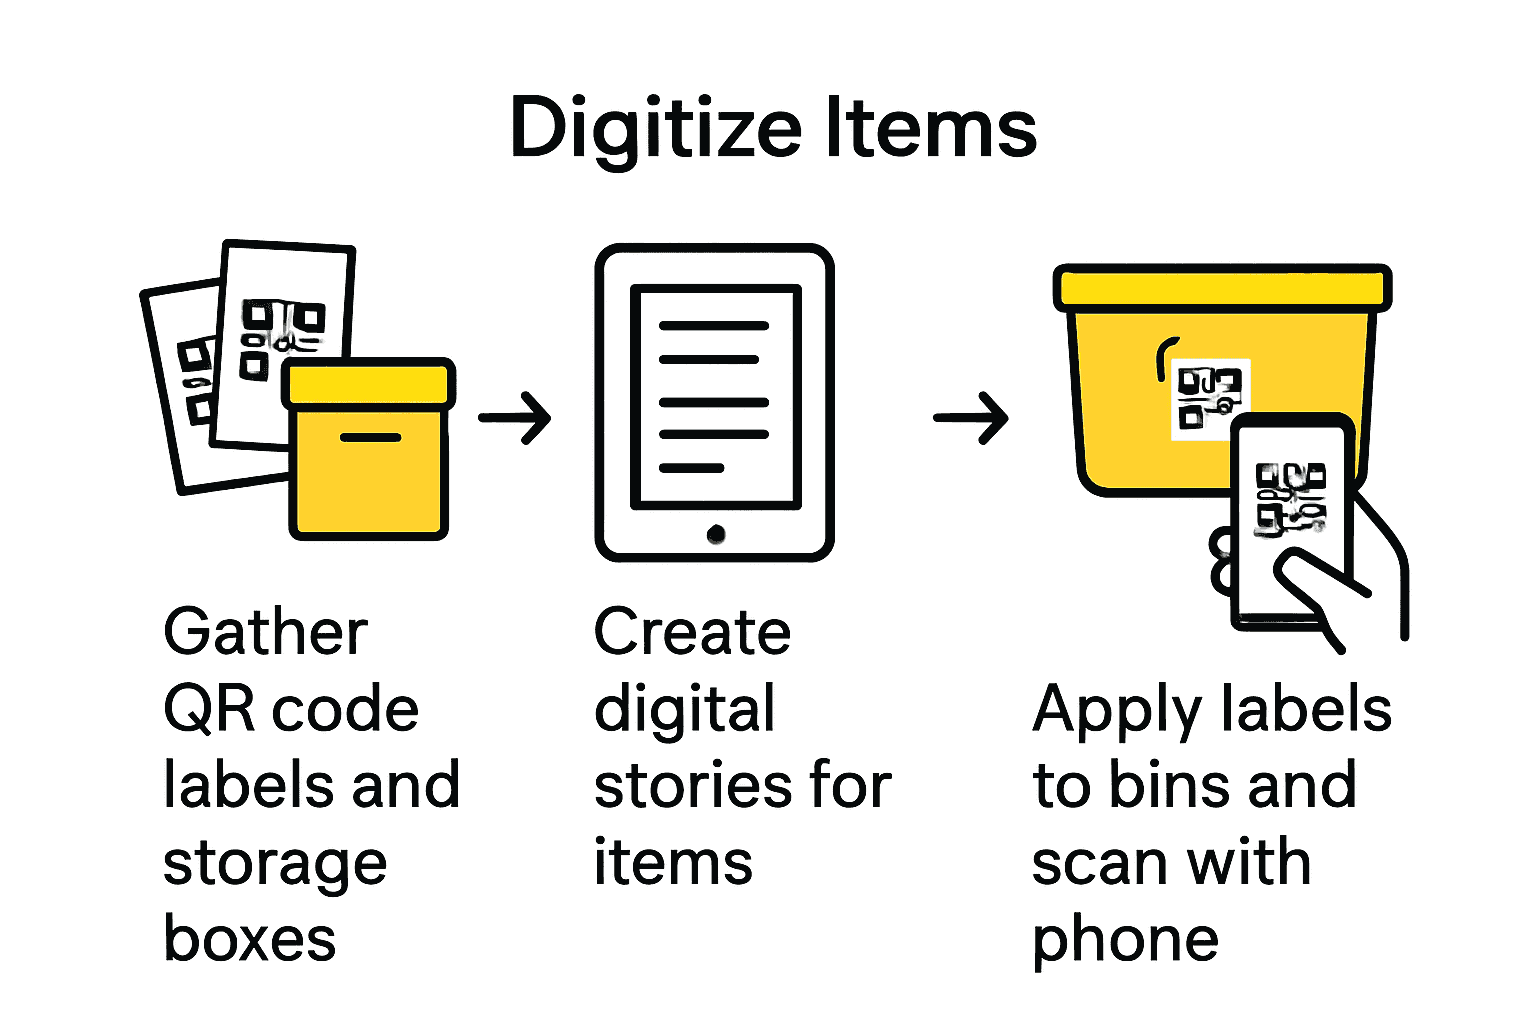
Step 1: Assess storage needs and gather supplies
Before diving into your storage labeling journey, you need a solid plan. According to Guardian Storage, effective storage starts with thoroughly evaluating your specific requirements. This means walking through your space and making a detailed inventory of what items you want to organize and store.
Start by listing out the categories of items you want to label and store. Will these be personal keepsakes, office documents, craft supplies, or family heirlooms? Measure your available storage spaces precisely. Grab a tape measure and note the dimensions of shelves, bins, and cabinets where you plan to use your QR code labels. As Science2Education recommends, consider using transparent containers that will allow easy visual tracking alongside your digital QR code tracking.
For your supplies, gather these essentials: your QR code label pack, a smartphone for scanning and setting up labels, and any additional storage containers you might need. Pro tip: Take photos of your space before starting. This will help you track your organizational progress and provide a satisfying before and after comparison.
 The next step will guide you through creating meaningful digital connections for your stored items.
Step 2: Create digital content for each item
Now that you have assessed your storage needs, it is time to bring your items to life through digital storytelling. According to Wikipedia, digital storytelling is a powerful method for creating meaningful narratives about your cherished items. This approach transforms simple storage into a rich, interactive experience that captures memories and context.
Start by selecting the type of digital content that best represents each item. For family heirlooms, you might record a short video sharing its history. For artwork, consider adding a description of its creation process. Documents could include scanned copies or detailed notes about their significance. Wikipedia emphasizes the importance of digital curation, which means carefully selecting and preserving digital assets to ensure their long term accessibility and meaning.
Pro tip: Keep your digital content concise but meaningful. Aim for videos under two minutes, text descriptions around 100 words, and clear images that capture the item’s essence. Remember that these digital stories will help preserve not just the physical item, but its emotional and historical significance.
 In the next step, you will learn how to link this digital content directly to your QR code labels, creating a seamless connection between physical objects and their rich digital narratives.
Step 3: Generate and link QR code labels
With your digital content ready, it is time to create QR code labels that will transform your storage items into interactive experiences. Wikipedia explains that unique digital identifiers help create persistent links to digital content, which is exactly what QR codes accomplish for your stored items.
Start by accessing your Smack Tags platform and uploading the digital content you created in the previous step. Each QR code will serve as a unique digital gateway to the story behind your item. Following Wikipedia, developing a strategic approach means ensuring your content is useful and well structured for anyone who might scan the label. Consider the narrative flow of your digital content. Will someone unfamiliar with the item understand its significance? Make sure your uploaded videos, images, and descriptions tell a clear and engaging story.
Pro tip: Before finalizing your QR codes, do a test scan to verify that all links work correctly and the content loads smoothly. Double check that the digital content matches the physical item it represents. In the next step, you will learn how to apply these QR code labels to your storage items securely and strategically, creating a seamless bridge between physical objects and their rich digital narratives.
Step 4: Apply and organize QR code labels
Now comes the exciting part of physically applying your QR code labels to create an organized and easily accessible storage system. Science2Education recommends using transparent storage containers to enhance organization, which pairs perfectly with your new QR code labeling strategy.
Begin by cleaning the surface where you will place each label. Ensure the area is dry and free from dust or oils that might prevent the label from adhering properly. Apply the QR code label in a visible but unobtrusive location where it can be easily scanned without interfering with the item’s functionality. As Practical Tips for Teachers suggests, clear labeling helps reduce time spent searching and improves overall inventory management. Consider creating a consistent placement pattern for your labels across different storage areas to make scanning intuitive.
Pro tip: Take a quick photo of your labeled storage area as a reference point. This will help you track your organizational progress and serve as a visual guide for future maintenance. In the final step, you will learn how to maintain and update your smart storage labeling system to keep your items and their stories perfectly preserved.
Step 5: Test and verify label accessibility
The final stage of your smart storage labeling journey involves thoroughly testing and verifying that your QR code labels work flawlessly. Teachers Institute emphasizes the importance of regular audits to ensure everything is in its proper place and functioning correctly.
Begin by systematically scanning each QR code with different devices smartphones and tablets to confirm consistent performance. Check that the digital content loads quickly and accurately. As Practical Tips for Teachers recommends for effective inventory management, take time to verify that all linked information is current and accessible. Pay special attention to video quality, text readability, and image clarity. Test labels in various lighting conditions and from different angles to ensure maximum scanning reliability.
Pro tip: Create a quick reference spreadsheet tracking each labeled item with its corresponding QR code status. This will help you quickly identify and replace any labels that might not scan perfectly. Your smart storage system is now complete a personalized digital archive that transforms ordinary storage into an interactive storytelling experience that preserves your items memories and significance for years to come.
Transform Your Storage with Smart QR Code Labels
Struggling to keep your storage organized and meaningful? If the challenge of inventory management and preserving your treasured items resonates with you, our solution fits perfectly. The article highlights how creating unique digital stories and linking them to physical items makes storage interactive and memorable. You want to save time, avoid clutter, and bring emotional value to your storage system. Our QR code labels are designed for exactly that purpose. They let you attach videos, images, and notes directly to your belongings, turning simple bins into rich digital archives.
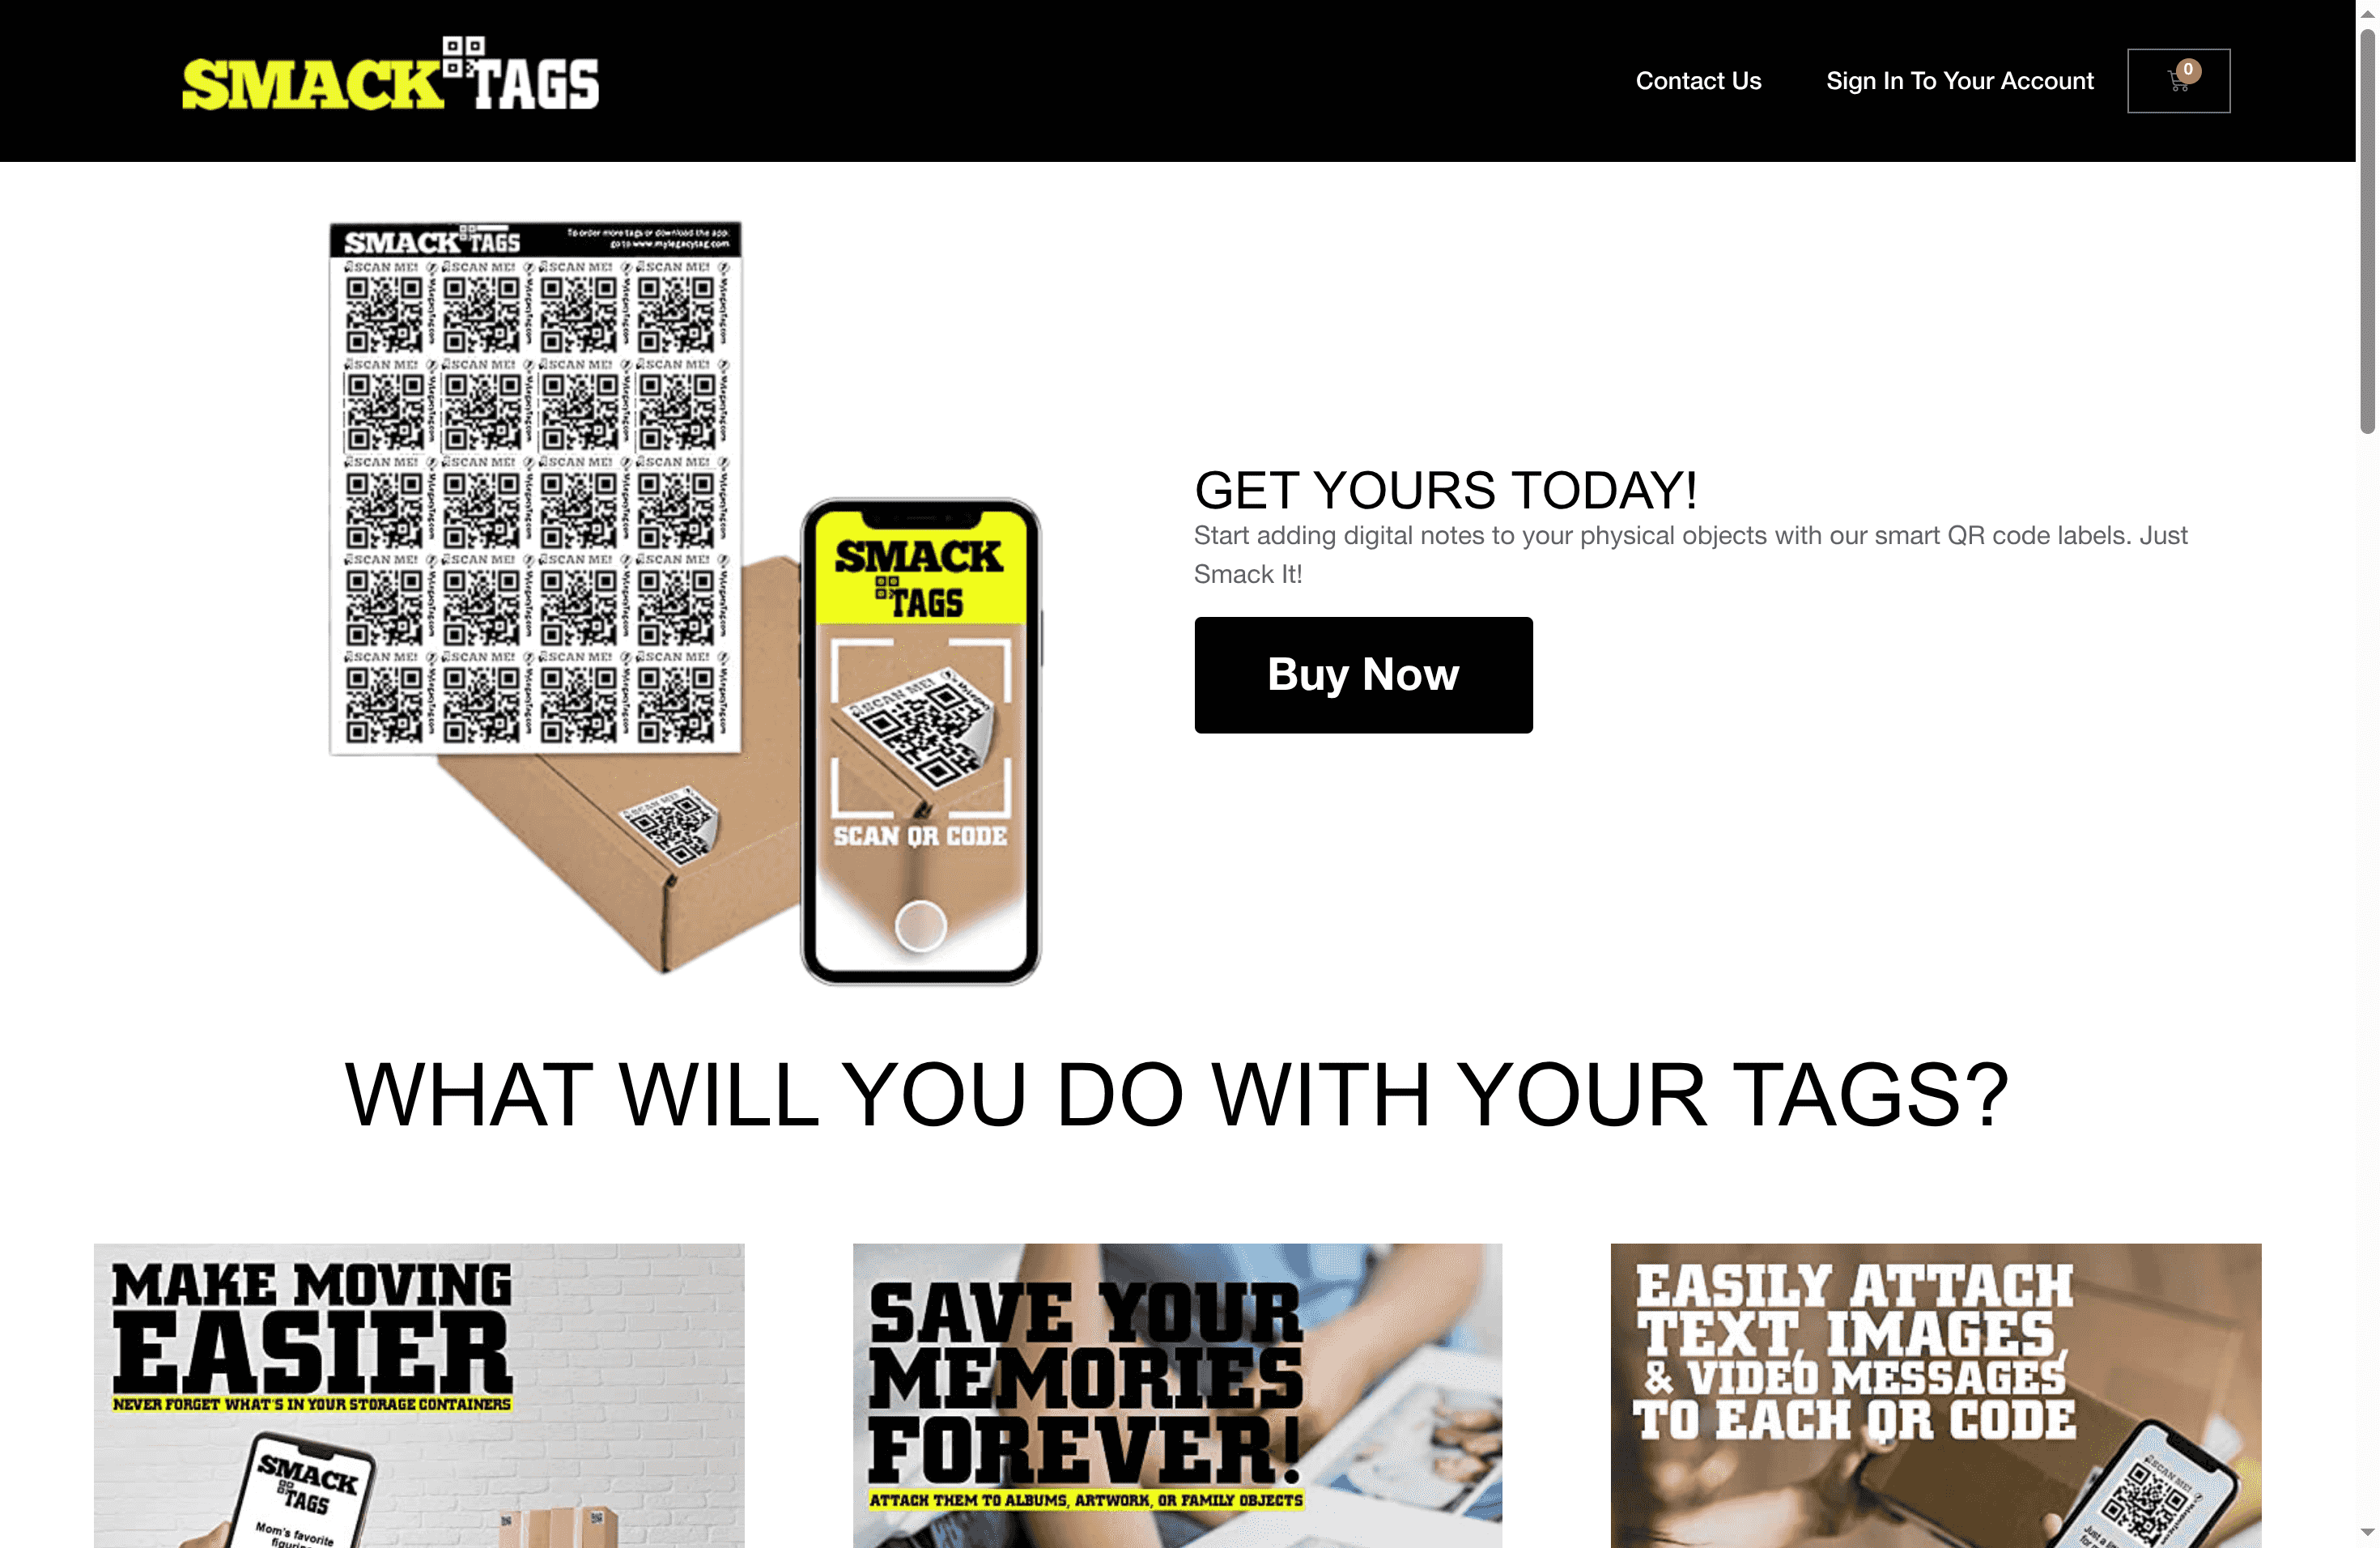
Discover the power of smart labeling in our Creative – Smack Tags category where innovation meets practicality. Whether for family keepsakes or business documents, our durable, fade-resistant QR code labels make scanning and accessing item details effortless. Don’t miss the chance to upgrade your storage system and keep your stories alive. Visit Smack Tags now to get started and learn more in our Uncategorized – Smack Tags section.
Frequently Asked Questions
How do I assess my storage needs effectively before labeling?
Start by conducting a walkthrough of your space and inventorying the items you want to store. List categories like office documents or family keepsakes, and measure your storage areas to ensure you have sufficient space for your labeling system.
What type of digital content should I create for my storage items?
Create digital content that adds context to each item, such as videos explaining their significance or images showcasing their details. Aim for concise narratives, like videos under two minutes and text descriptions around 100 words, to tell impactful stories.
How do I generate and link QR codes to my digital content?
Access a QR code generator platform and upload your prepared digital content for each item. Each QR code will serve as a link to its corresponding digital narrative, so ensure that the content is engaging and informative for viewers unfamiliar with the items.
What is the best way to apply QR code labels to my storage items?
Clean the surface of each item where you’ll place the label, ensuring it’s dry and dust-free. Apply the QR code label in a visible location for easy scanning, and consider establishing a consistent placement pattern across your storage items for intuitive access.
How can I verify that my QR code labels are working properly?
Systematically scan each QR code with different devices to confirm they load the expected digital content quickly. Document the status of each QR code in a simple reference spreadsheet to easily identify any that may need replacement or updates.
What should I do if I want to maintain my smart storage labeling system?
Regularly audit your labeled items and digital content to ensure everything is up to date and functioning correctly. Plan to conduct these audits every few months, as this will help keep your storage system organized and accurate.